Download the files from BlenderMarket; you will find two files:
Unzip the file BreakdownMaker_Assets_v1.0.0.zip.
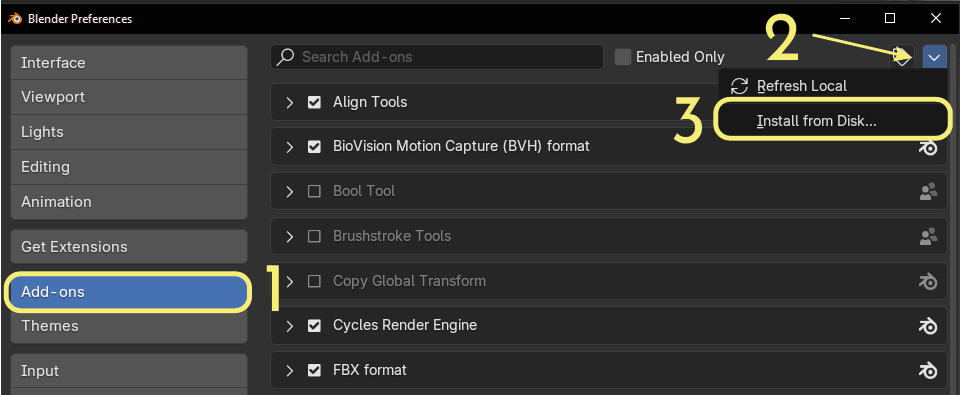
Go to Blender > Edit > Preferences and install the add-on (BreakdownMaker_v1.0.0.zip).
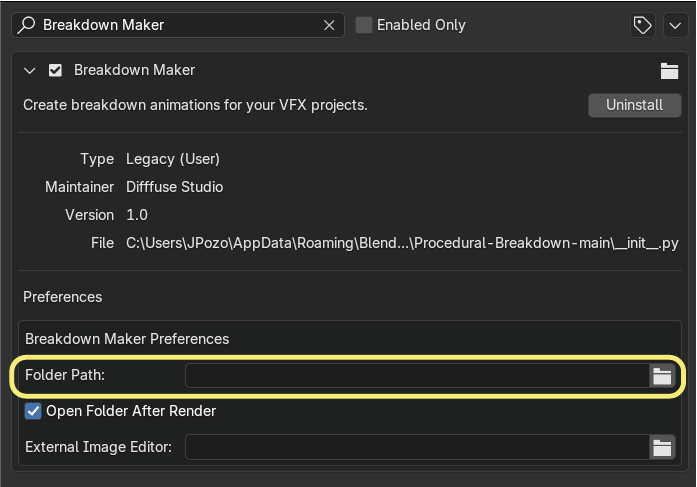
Activate the add-on and select the BreakdownMaker_Assets_v1.0.0 folder in the **Folder Path** field.
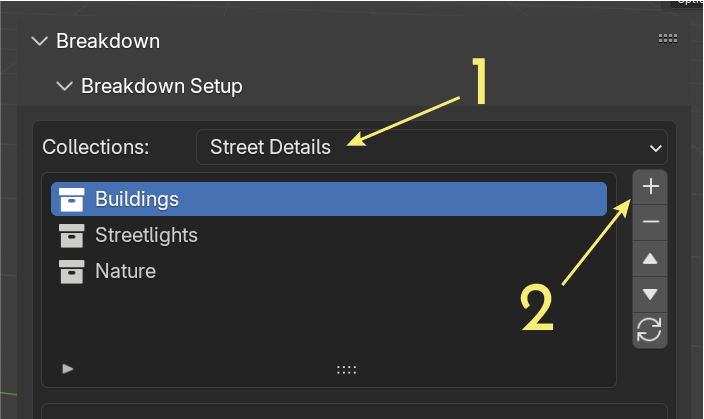
In this tab, we will add the collections we want to include in our breakdown. Use the dropdown menu to select the collection and the “+” button to add it to the list. You can add as many collections as you like.
Important information: if you select a collection that contains other collections within it, these subcollections will be treated as a single object when creating the animation. Keep this in mind when organizing your scene before making the breakdown.
Select one of the 6 breakdown types by clicking on the icon. Later, you will be able to modify different parameters for each of them or replace the type of breakdown for each individual collection.
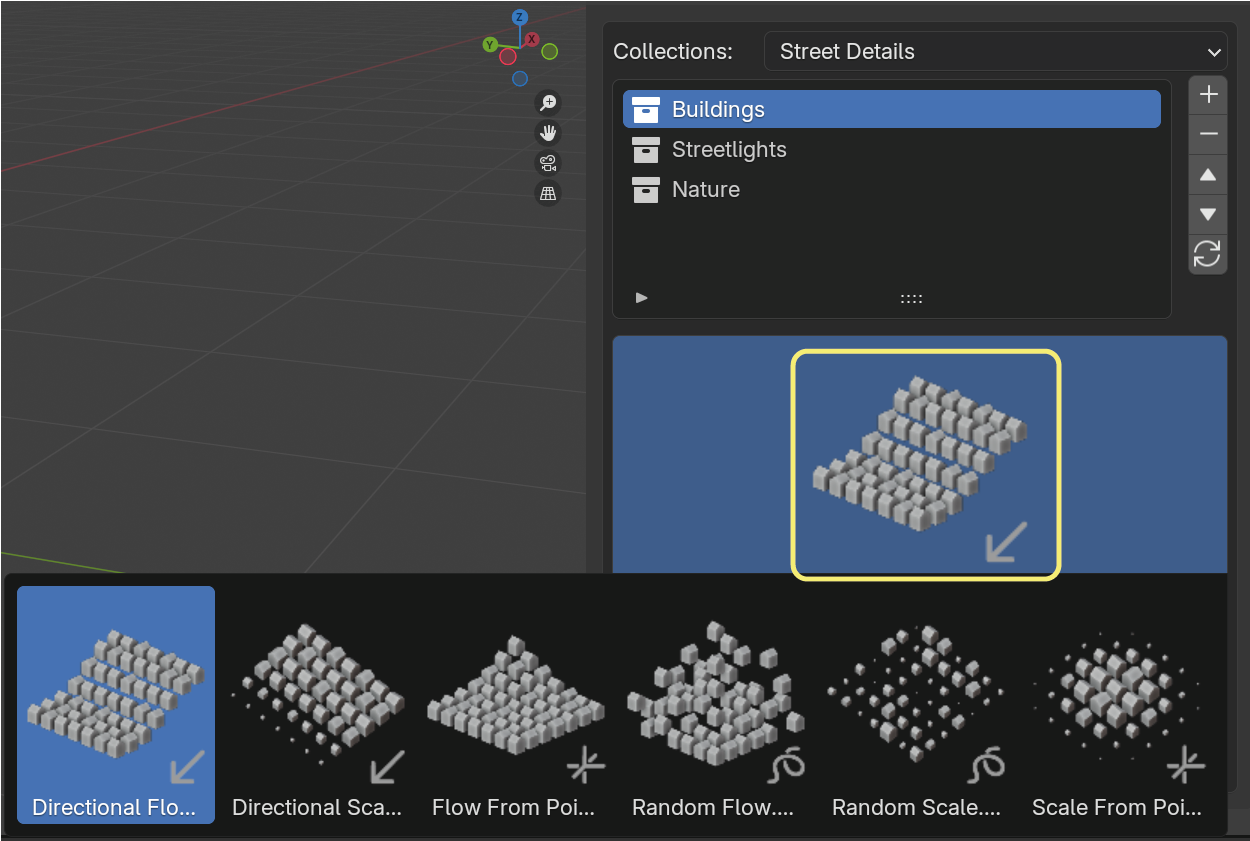
You can watch a preview video of each type of breakdown to get an idea of how it will look in your scene.
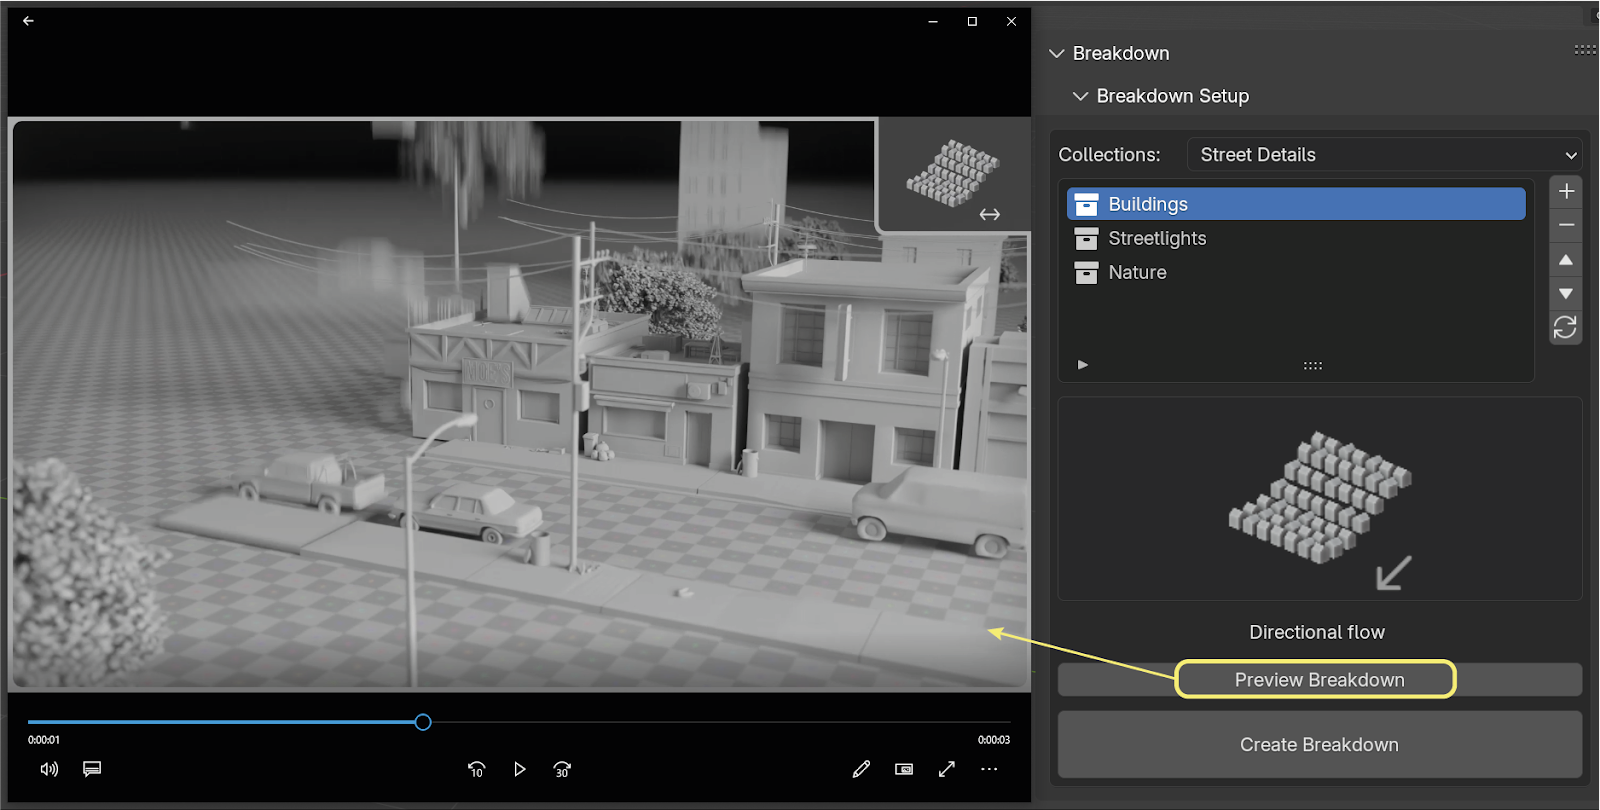
Once you have selected the collections and the type of breakdown, click on Create Breakdown
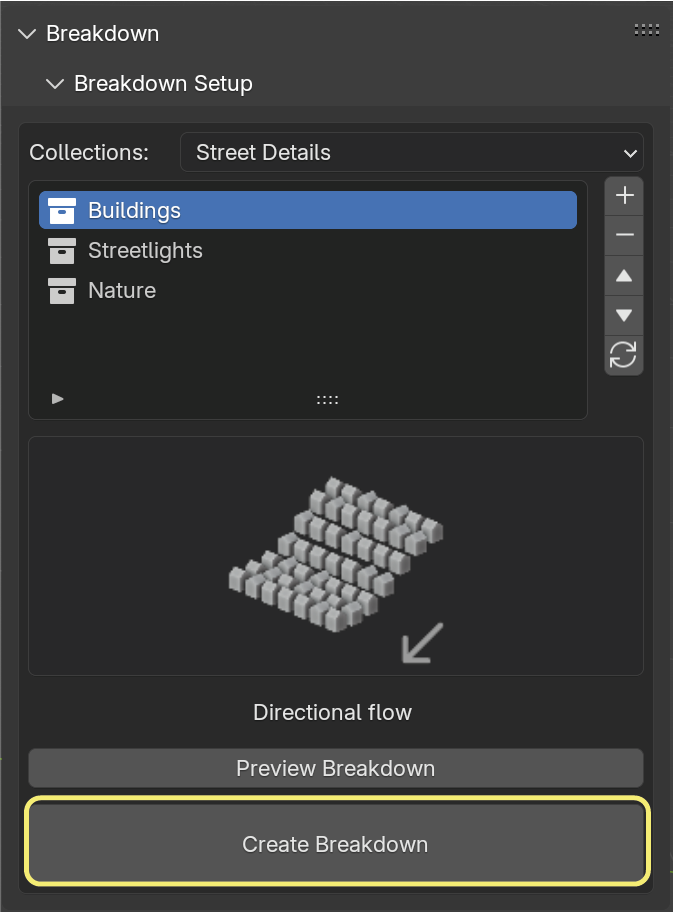
Once you have created the breakdowns, open the **Manage Breakdown Collections** tab.
Replace the type of breakdown at any time.
As you will notice, once you create a breakdown, the original collection will be hidden from the scene, and in its place, the breakdown object containing the elements of that collection will be displayed, including the selected breakdown animation. If at any point you need to make changes to the assets in that collection, simply uncheck this option. This will hide the breakdown object and show the collection again. Once you are done, check the box again.

In this example, I have unchecked the Streetlights checkbox, which has hidden the breakdown object and shown the original collection again.
Use the right buttons to reorganize the collections (we will see the purpose of this in the "Auto Animation" section) or delete them.
The collections you have added will perform their animations one after another according to the order in the list within the Manage Breakdowns tab.
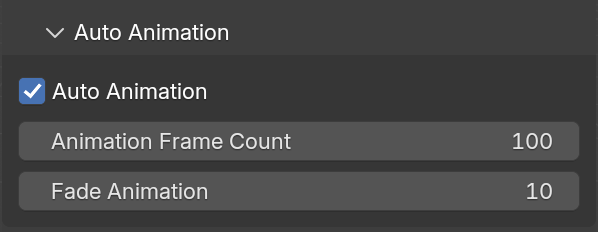
Enabled by default. If you disable it, you will be able to manually animate each collection independently in the parameters within the Breakdown Settings tab.
Enter the frame at which you want the animation of all breakdown collections to end. If you have multiple collections, the animation time will be distributed among them. For example, if the value is set to 100 and you have 4 collections, each one will complete its animation in 25 frames.
This value allows the next collection to start its animation while the previous one is finishing, giving more fluidity to the breakdown. If you don’t want this effect, leave the value at 1.
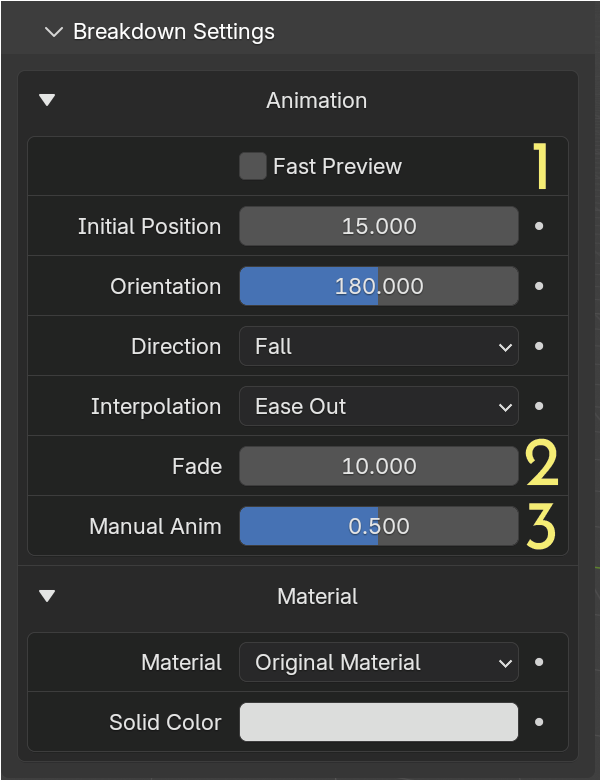
(1) This option displays boxes according to the size of each object in the collection instead of the original objects. This can improve performance and help you see how the animation looks in real-time, especially if your collection contains many high-polygon objects. Make sure to disable this option before rendering.
Don't confuse this parameter with the **Fade** setting in the **Auto Animation** tab. In this context, fade refers to the number of frames between the animations of each object within the collection we are modifying.
If the value is 1, each object will start its animation when the previous one has finished. For example, if you set the value to 10, there will be 10 frames during which one object is finishing its animation while the next one is starting.
The appropriate value for this parameter largely depends on the total number of frames you have allocated for the collection and the number of objects within it. Adjust this value until you find an animation that you like.
This option only works when the checkbox in the **Auto Animation** tab is deactivated. It has a value range from 0 to 1. Move the slider and set keyframes to create your animation manually.
You can choose individual objects or collections to add to your Turntable scenes. To do this, toggle between these two options. For objects, you can select them using the eyedropper tool.
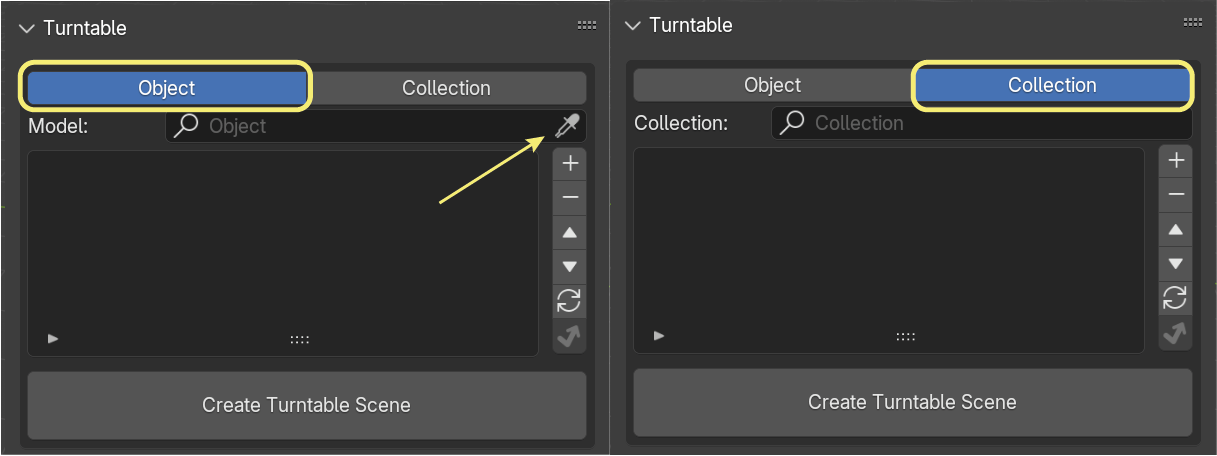
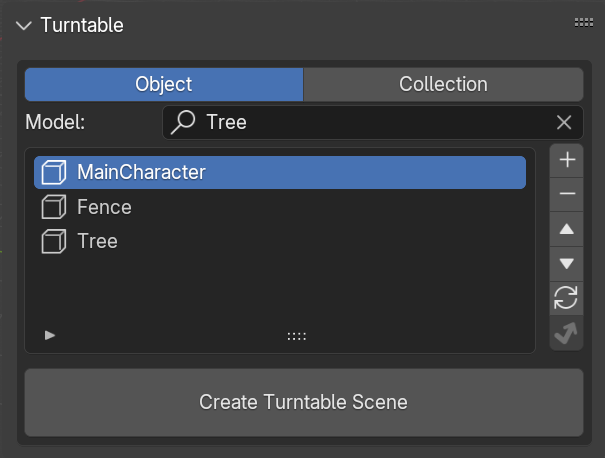
You can create multiple Turntable scenes at once. Select the models and collections you want and add them to the list using the **+** icon on the right side.
In these Turntable scenes, the add-on interface is different. It includes settings that allow you to modify your Turntable scene as desired. We will explain this interface in detail later.
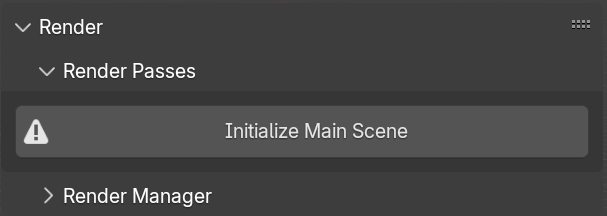
The first thing you will see when you open the Render Passes tab in your main scene is this button, as long as you don't have Compositor Nodes enabled. If you don't, just click this button and they will be activated, this is because they are necessary to be able to export several render passes of your scenes.
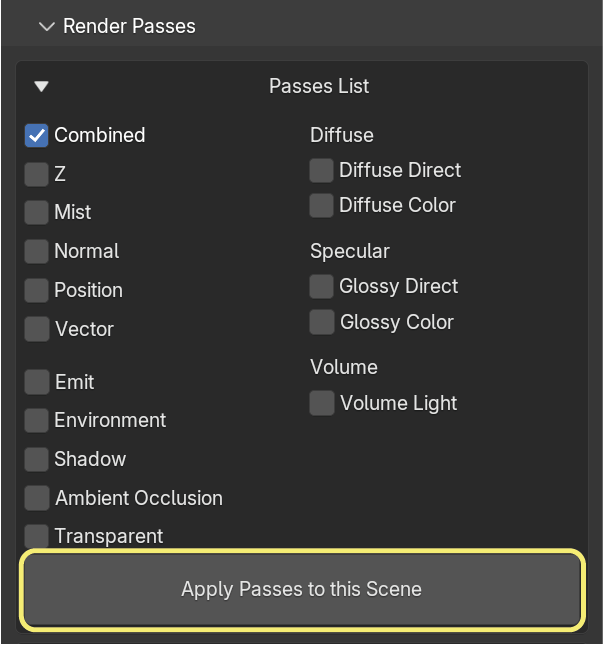
Drop down Passes List to see all the render passes you can activate and select the ones you want. In case you do not need any of them, simply leave Combined selected and click Apply Passes to this Scene.
Under Passes List you will find options to choose the format and other export settings.
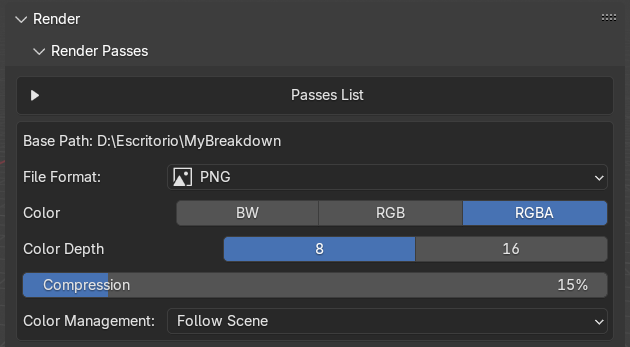
If you have chosen specific render passes that you want to use in other scenes as well, you can use the **Copy Settings from** option.

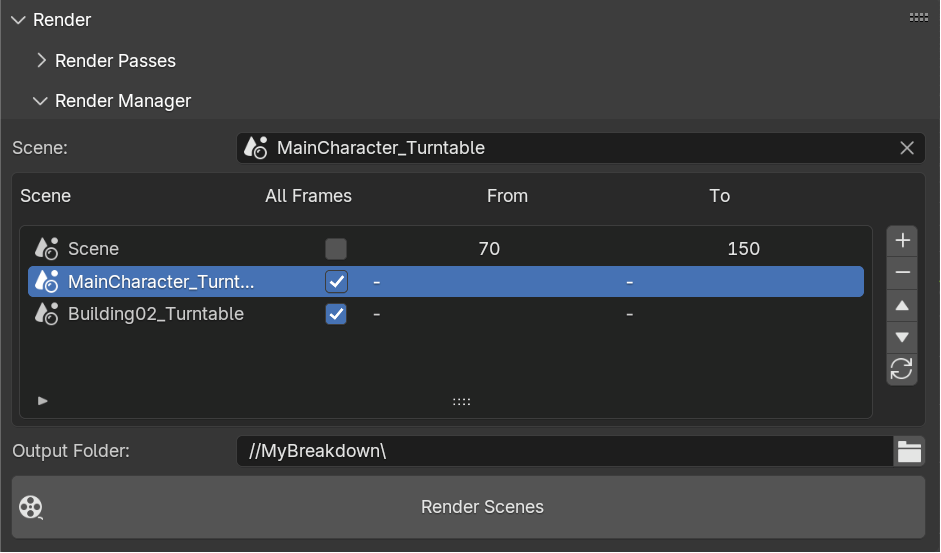
Just like in other tabs of the add-on, select the scenes you want from the dropdown menu and add them to the list using the **+** button on the right side.
In each scene, you can choose whether to render the full range of frames (by enabling the All Frames checkbox) or select a specific start and end frame. To do this, uncheck the All Frames box and use the From and To columns to specify the frame range.
Select the export path by clicking this icon. You might see a red button when choosing the export path; if so, just click it, and the **Render Scenes** button will become visible.
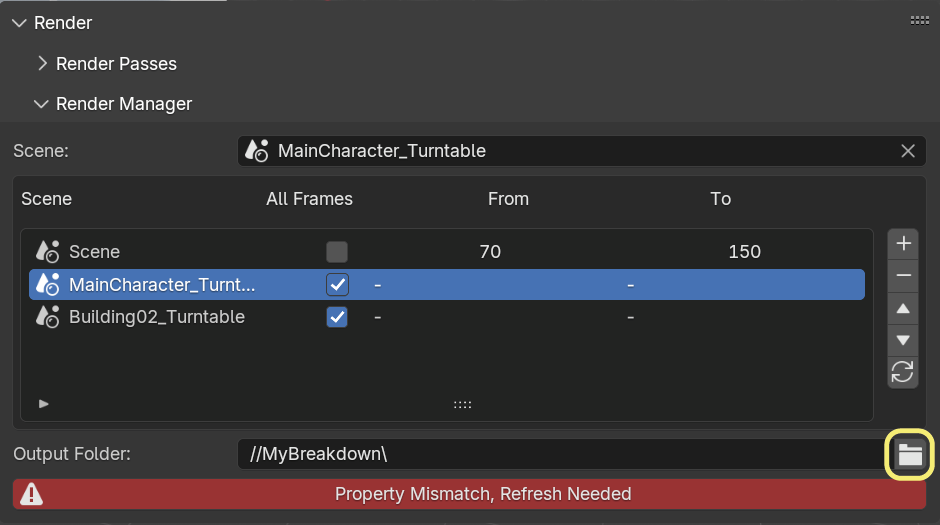
If you see this warning icon, it could be because the scene does not have a camera, the scene no longer exists, or you have renamed it.
Once all the scenes with the desired frame range are in the list, click the Render Scenes button.
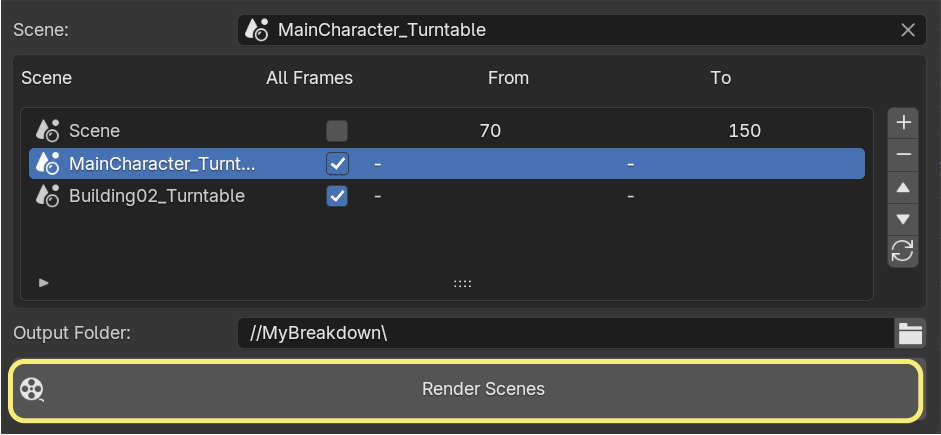
This will render each scene in the list sequentially, creating a folder for each scene and a subfolder for each render pass. Avoid interacting with the files in the folder during the rendering process, as the images are being appropriately relocated while the rendering progresses.
Once the render is complete, the folder will open automatically. You can cancel the render at any time in the same way you would when rendering normally in Blender. If you cancel and render again, the process will resume from the last frame rendered.
In this tab, you will find links to the documentation, the tutorial on the add-on, our Discord channel, and our BlenderMarket page.

This interface is only available in Turntable scenes. It contains several tabs with the necessary settings to customize your scene.
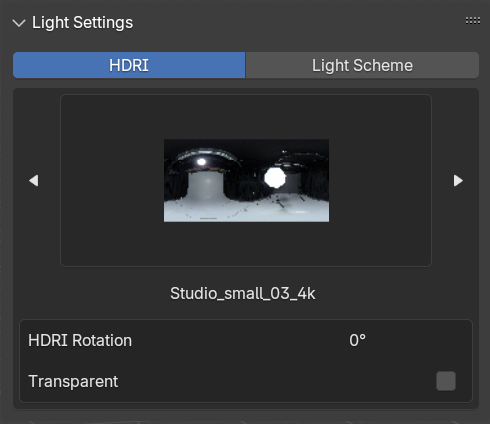
In this tab, you can switch between lighting your scene with an HDRI or a light scheme.
Click on the image to display a list of thumbnails with all available HDRIs. You can also click the side arrows to switch between HDRIs. These HDRIs correspond to those contained in the HDRI folder within the BreakdownMaker_Assets_v1.0.0 folder. If you want to add HDRIs to this dropdown list, simply add your own HDRIs to that folder.
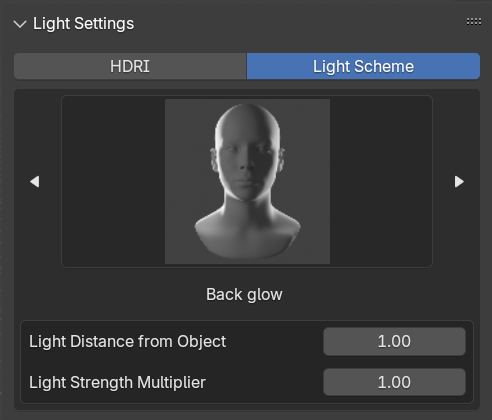
This option offers a number of light configurations that you can use to illuminate your models. Click on the image to display a list of thumbnails with all available light schemes. You can also click the side arrows to switch between the different light schemes.
You can modify the distance of the lights to adapt it to the size of your model. You can also modify the light intensity.
Remember that these lights are a basic preset to adapt to your scene. You may need to modify the position or other parameters of the lights, to do so, select the light and you will see this button, when you press it, you will be able to modify all the parameters manually.
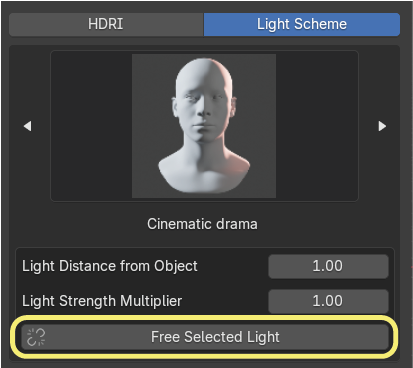
You can also do it without pressing the button, but if you change the light scheme or any of the two parameters mentioned above the light will return to its default values.
To make it as easy as possible to customize the scene, we have collected in this section the necessary parameters to do it
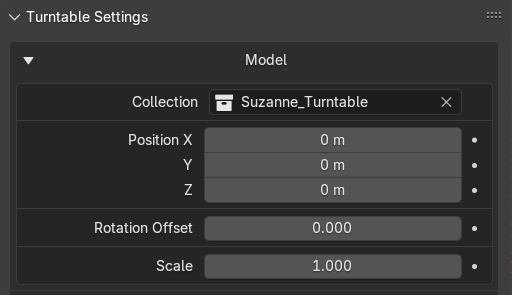
When creating your turntable scene, the center of mass of the object or collection is calculated to place it in front of the camera, in addition to that it is also placed on the ground. If you want to modify that position, rotation or scale you can do it in this section.
The Collection parameter determines which collection will be shown in the scene, if you want to add more models to the scene, you can simply add them to this collection or replace the collection with another one.
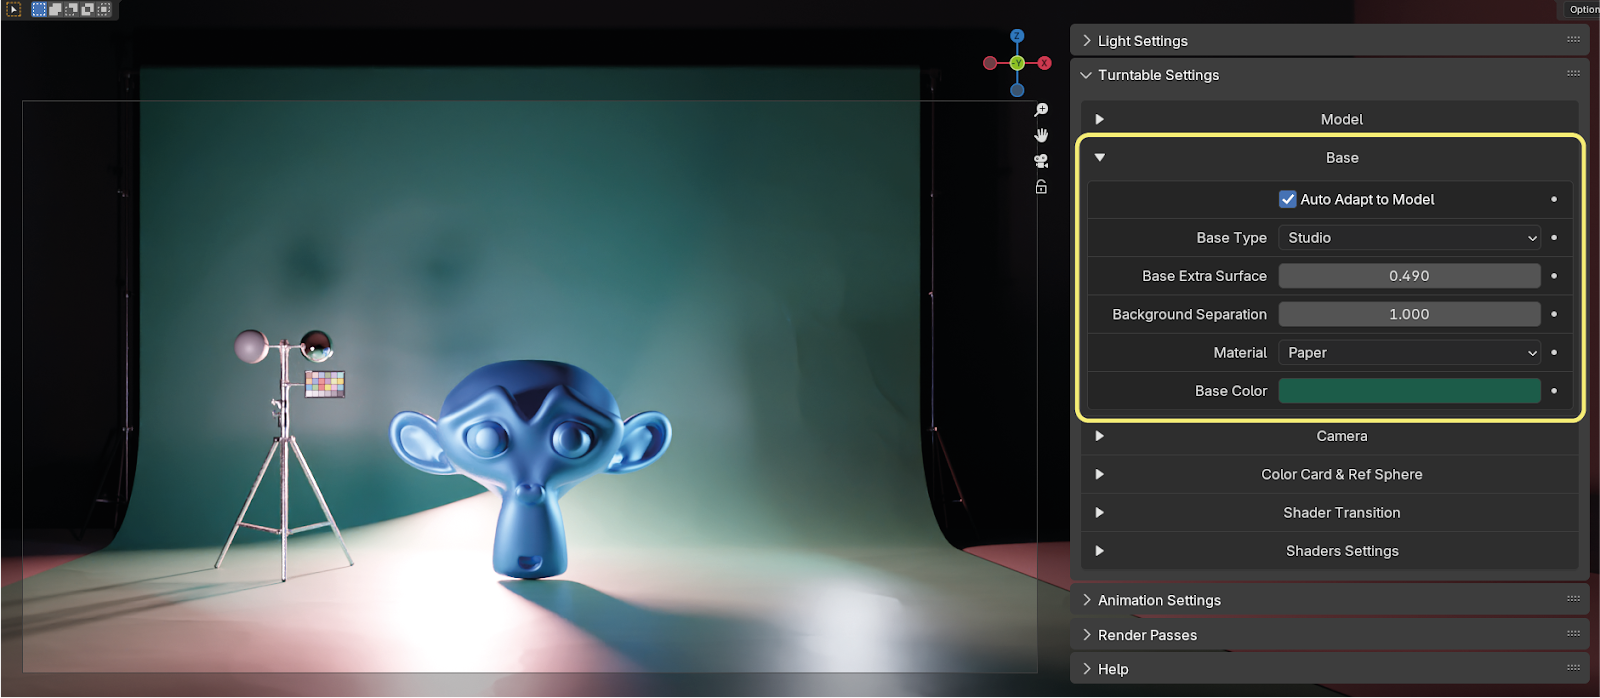
In the subcategory “Base” you can choose between some types of backgrounds for your scene, since the objective is to show the model, they are simple backgrounds with some basic parameters, however you can find an option to remove the background and use a custom one if you wish.
The “Auto Adapt to Model” parameter adjusts the width of the background according to the size of the model, but this may not be suitable for animated models, so you can disable this option.
Otherwise, you will find settings to switch between different backgrounds and modify their color and size.
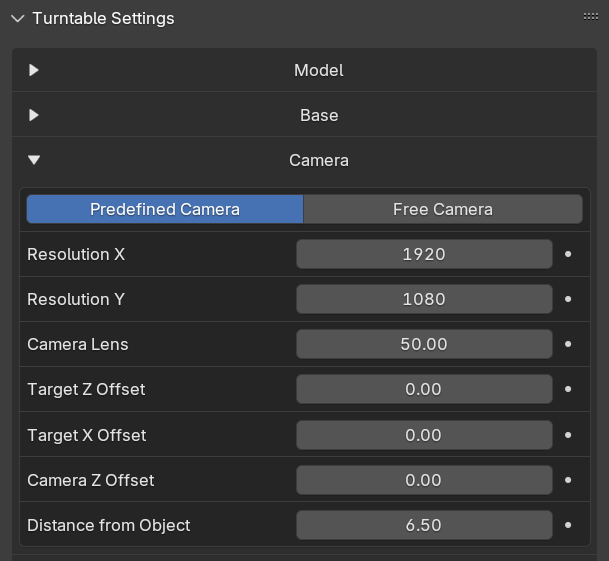
In this section you can choose to use our camera and modify the necessary settings from this tab, or check the “Free Camera” option to use a camera that you can modify as you wish.
The only limitation with the Free Camera option is that if you use the color card (which we will see in the next section) you can only use the Floor(Tripod) option.
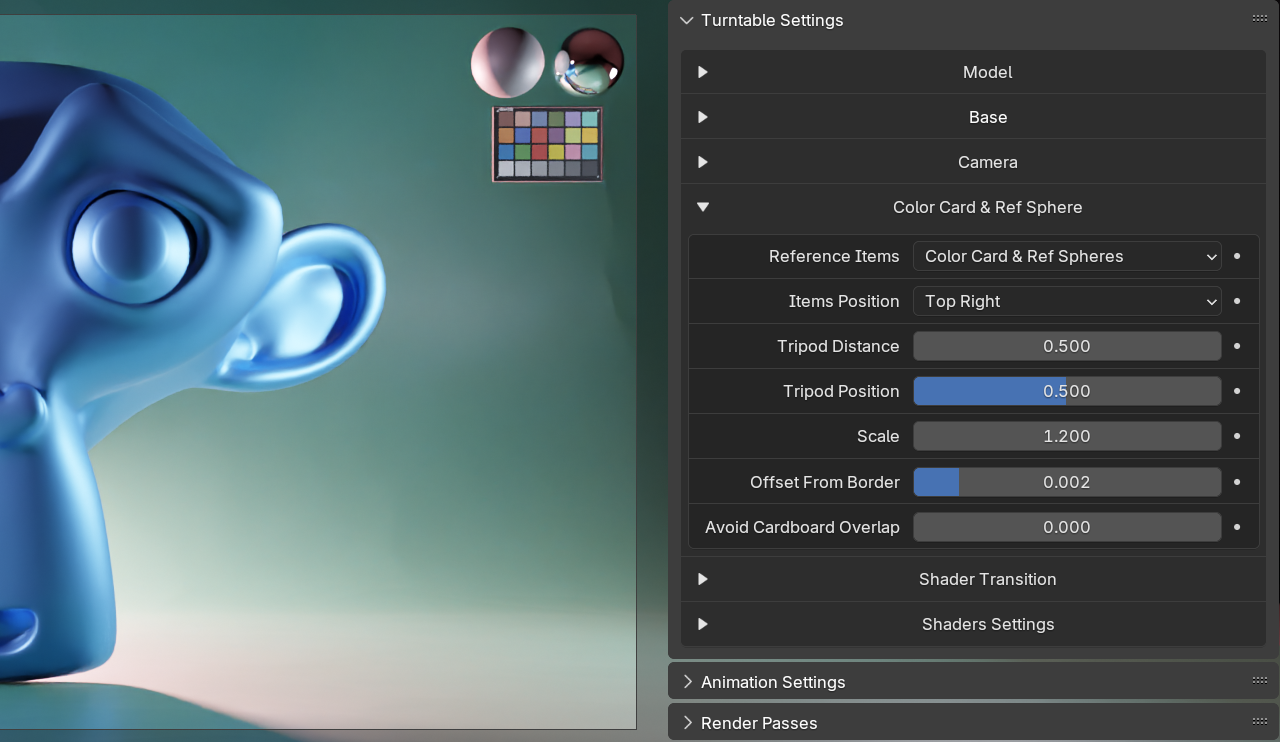
A color card and reference spheres in a turntable are used to calibrate color and lighting on the 3D model. By including them in a corner of the frame, they allow verification of how light affects the model and enable comparison with real reference colors, ensuring accuracy and consistency in presentations and technical reviews. You can place these items in the corners of the frame or on a tripod next to the model.
As I indicated before, if you use the Free Camera, the items will not be placed correctly according to the position, rotation and lens of the camera.
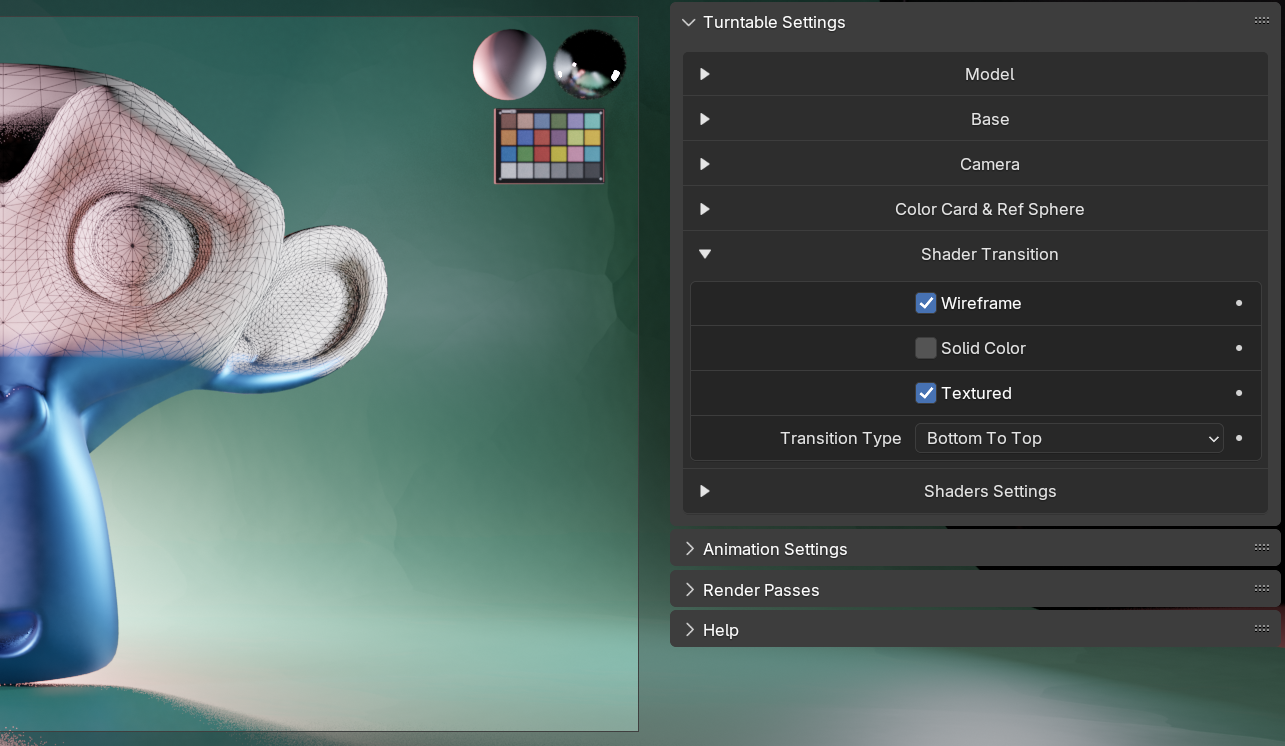
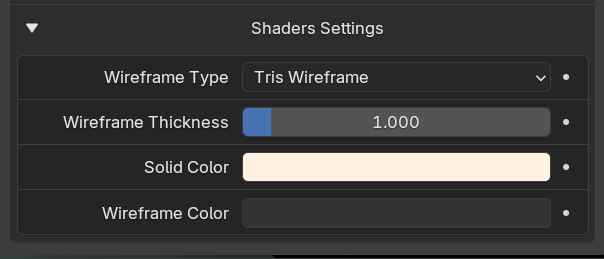
If you want to make a pass to show the mesh and the asset without textures you can do it in this section.
The transition will be done automatically according to a value that we will adjust in the “Animation Settings” section.
Adjusts some values related to the passes mentioned in the previous section.
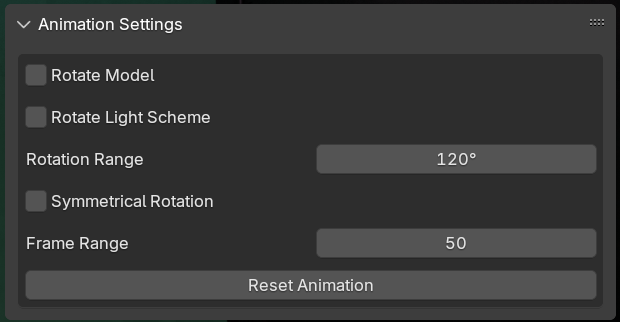
In this section you can add animation to your model and your HDRI/Light Scheme. It works as follows.
You can reset the rotation with the “Reset Animation” button.
It works in the same way as in the main scene.
It works in the same way as in the main scene.