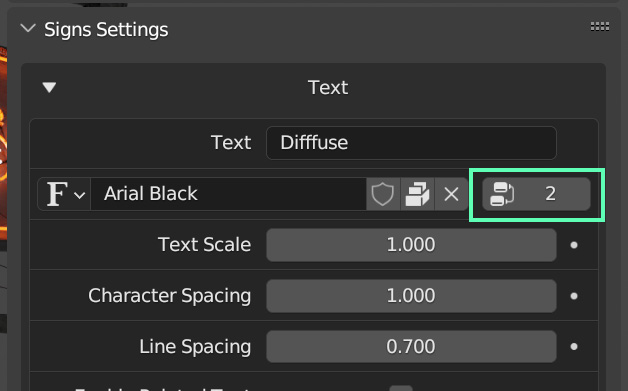
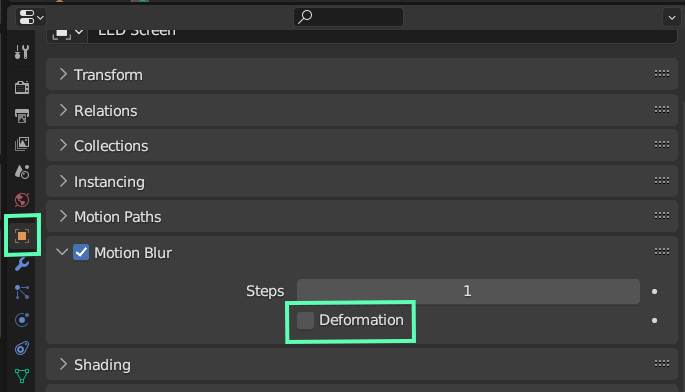
This product is a Blender Add-On, so the first step is to install it.
Download files:
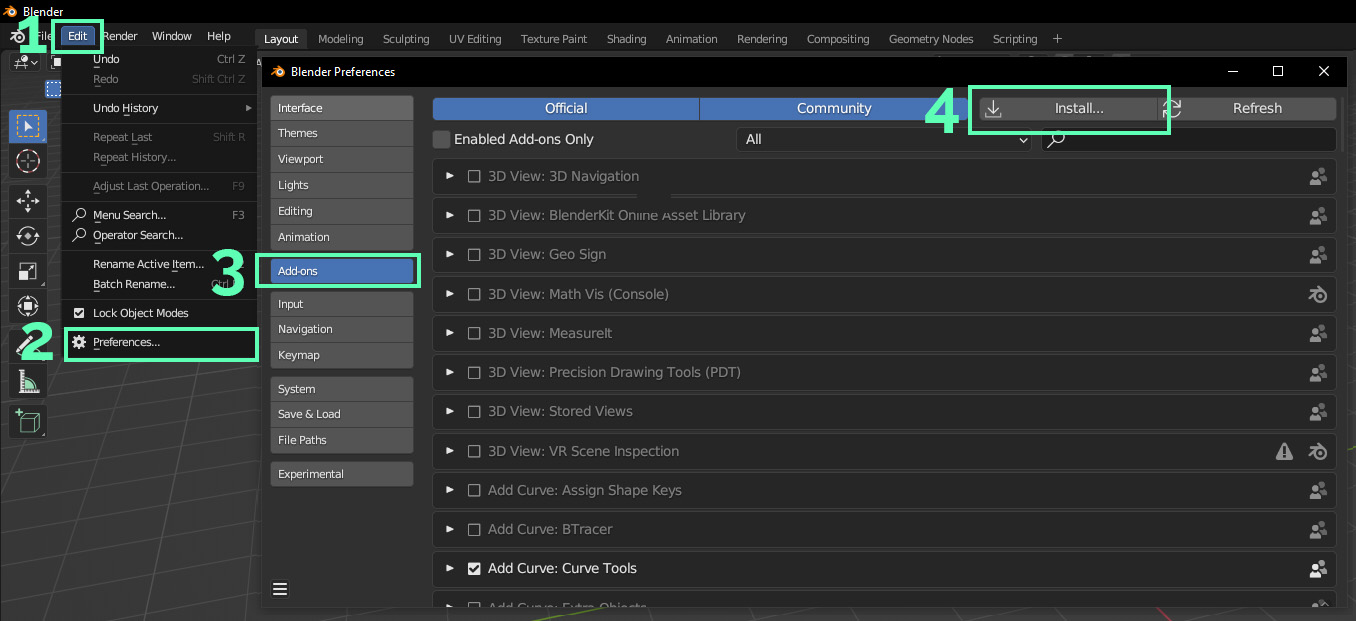
The add-on file is “Procedural Signs - v1.0.0”, so go to Blender and go to Edit > Preferences > Add-ons > Install…
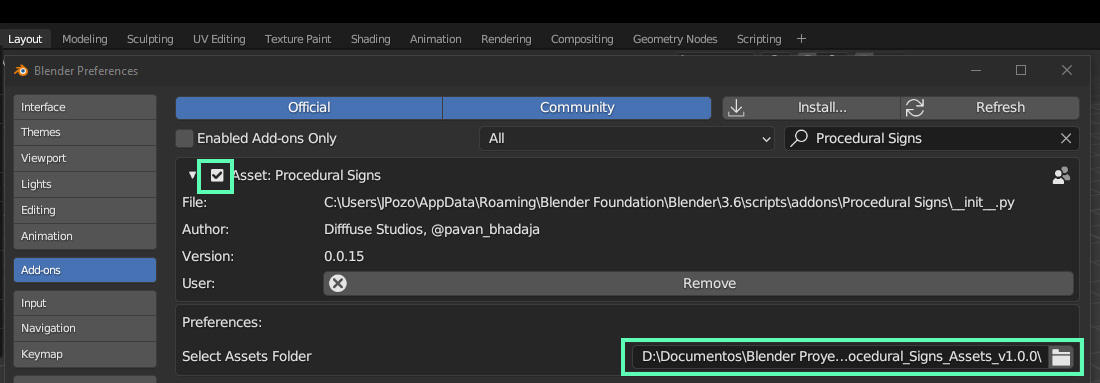
After this, enable the add-on.
At the bottom, you will see two preferences to configure. "External Image Editor" should be left empty. Unzip the file "Procedural_Signs_Assets_v1.0.0.zip". This is a folder with the necessary assets for the add-on to work. In the "Select Assets Folder" option, select that folder.
After installing it, you'll be able to see the add-on by accessing the N-Panel. Procedural Signs has four different tabs:
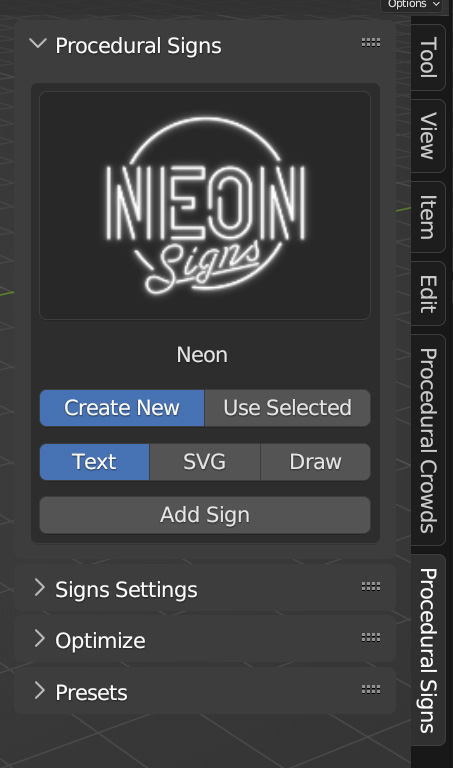
In this tab you will find the different types of signs offered by the add-on.
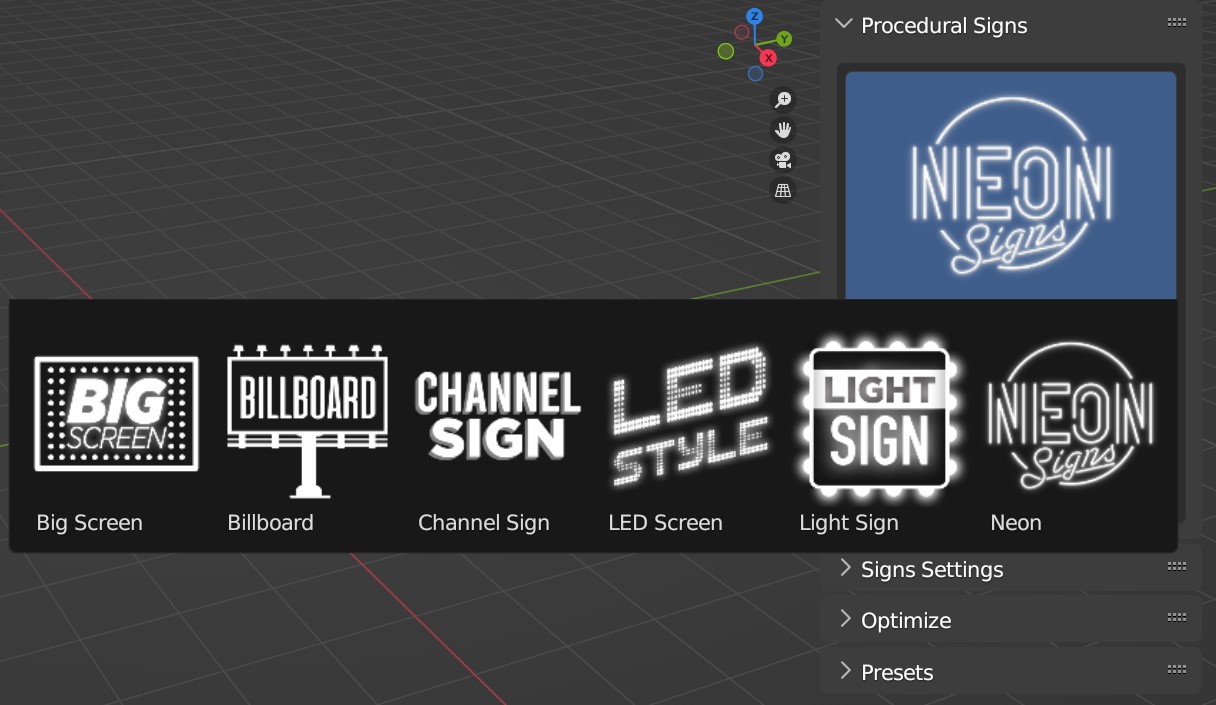
Text:
This option creates a new sign with an editable text and font. In addition to this, you can modify the predefined mesh to give the base any shape you want.
SVG:
With this option you can import custom SVGs. You can choose the color of the border neon and the inner neons. If you want to have neons of different colors simply separate your curves into different objects.
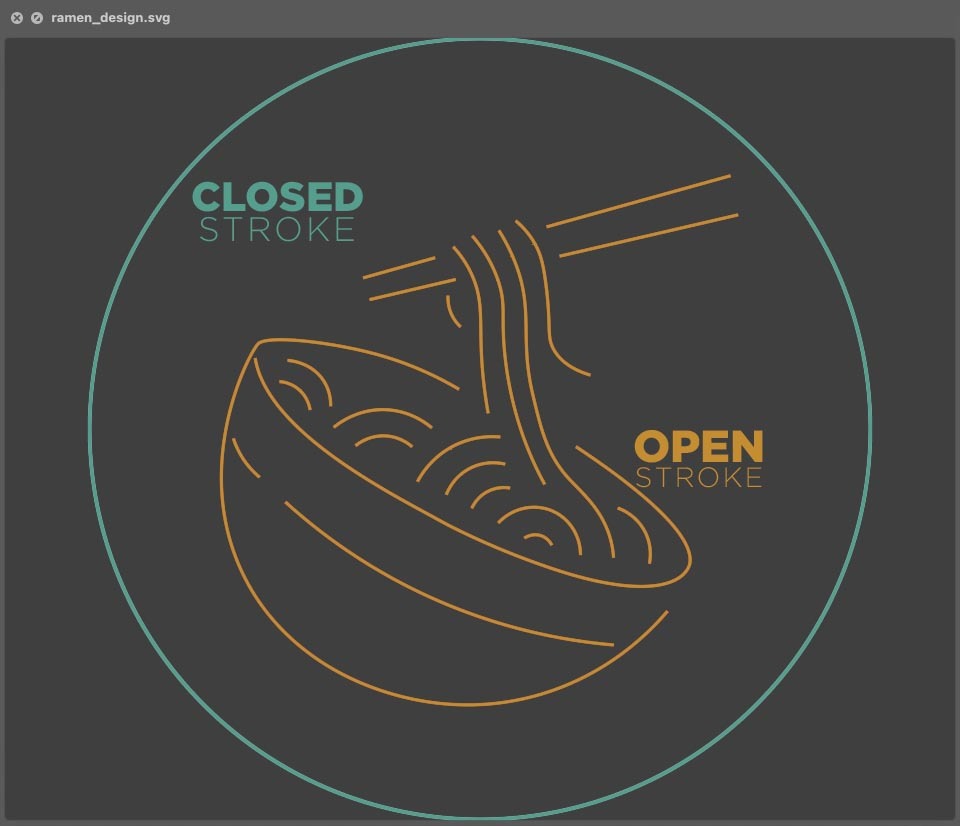
Important: The neon uses the closed strokes to create the base and the open strokes for the neons. In the case of channel sign you will have to use closed strokes for it to work correctly.
Draw:
This option allows you to draw directly with the "Draw" tool in Blender's edit mode. You can use it for a first version of your neon and correct the vertex positions later. Again, if you use this tool for Channel Sign you will have to close the strokes.
Select a curve type object and click on Add Sign. This will create a new sign in the shape of the curve. It is important that all the vertices of the curve are at Z 0, this will leave the sign lying on the ground, you can rotate it 90 degrees to fix it, but remember not to apply the rotation for it to work correctly.
When you click on Add Sign you can import an image or video. The texture of the corresponding sign will be applied to it and you will be able to customize parameters of both the texture and the sign.
Same as the Import Image option, but in this case you will be able to use images or videos that you have previously imported into the project.
Simply click on Add Sign and the LED display will be imported, after which you can edit the text, font and other parameters as you wish.
In this tab you will be able to see the parameters of each Sign as long as you have it selected.
Some sign types, especially neon, have excessive polygons as they are created procedurally, however, to optimize the performance of your scene you can use the "Decimate" option when you have finished customizing your sign. Click on Decimate and you will see the following options:
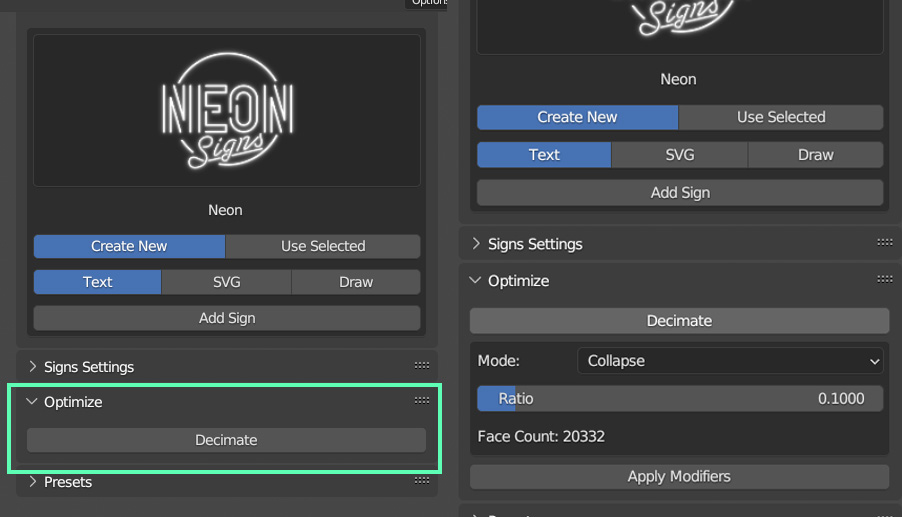
In Mode you should select the "Collapse" option, in ratio you can try different values, unless you are going to use a very close plane of the sign you can lower this parameter to between 0.25-0.1 in the case of the neon, since in the rest of signs it is not usually necessary. When you have finished click "Apply Modifiers", this will apply the Decimate modifier and the Geometry Nodes that generates the signs, so you will not be able to modify it after that, but the performance will be significantly higher.
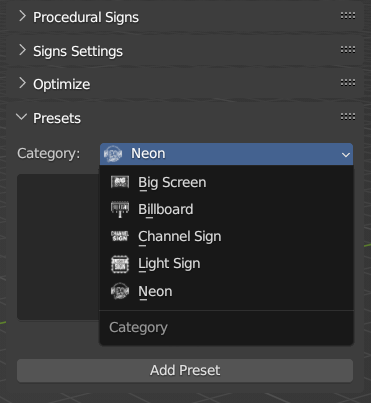
Finally, if you do not want to create signs from scratch, in this tab you can find different presets divided by category.
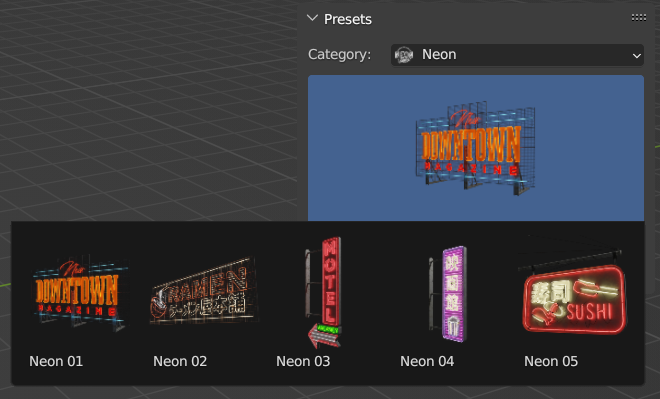
Some of them, those containing text will not be editable at first. If you want to customize them, display the EDITABLE collection inside the ASSETS collection (this collection is hidden when you import a preset, just activate the checkbox to show the elements inside it). There you will find the same sign but in this case fully editable, note that the font may be different if you do not have it installed on your computer, just change it for one of your liking.
