Download the files from BlenderMarket; you will find two files:
Unzip the file ProceduralStadiums_Assets_v1.0.0.zip.
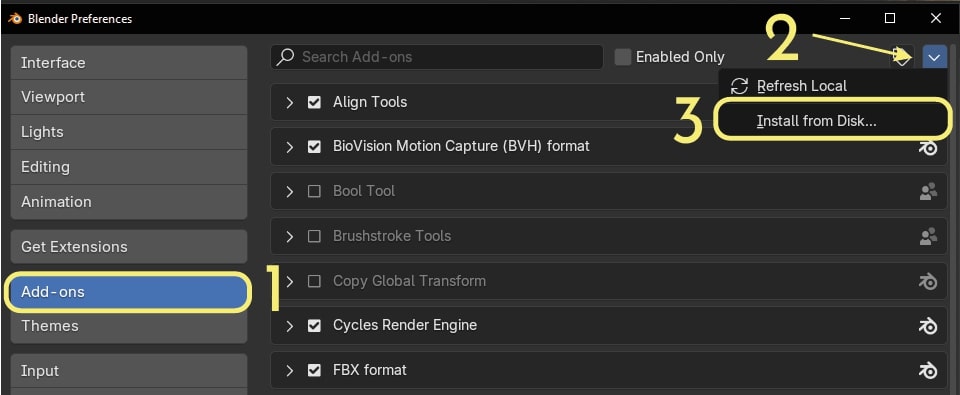
Go to Blender > Edit > Preferences and install the add-on (ProceduralStadiums_v1.0.0.zip).
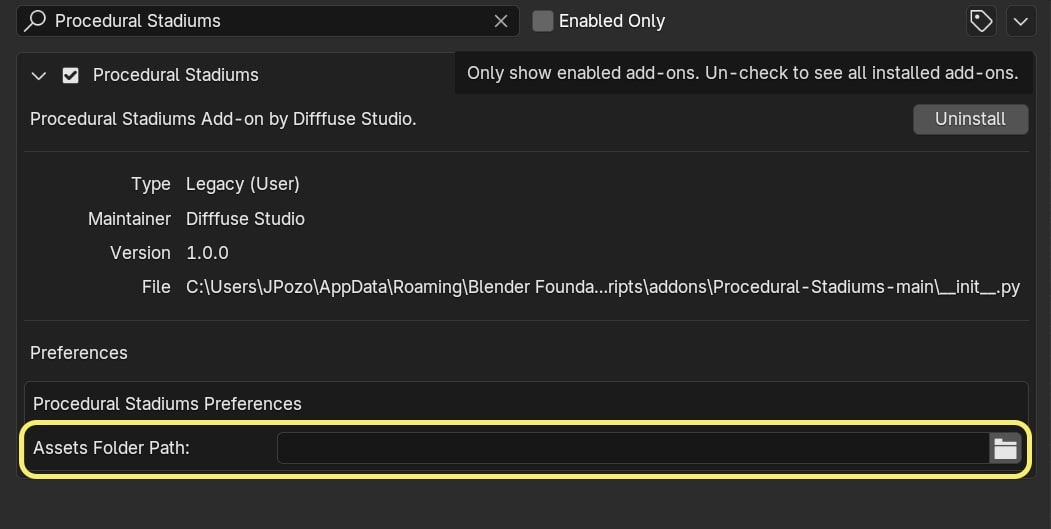
Activate the add-on and select the ProceduralStadiums_Assets_v1.0.0.zip folder in the **Folder Path** field.
In this tab you can choose between Stadiums and Assets, first of all we will see how to import stadiums and arenas.
Click on the thumbnail to display the list of available stadiums and arenas.
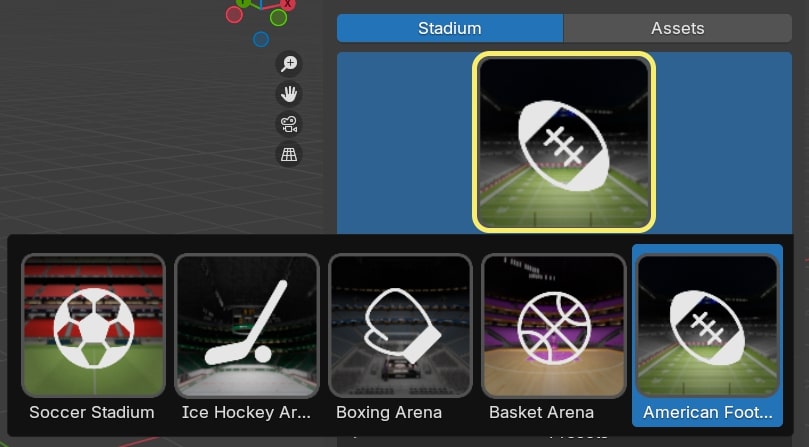
When you have chosen your stadium, click on the Import button.

Before moving on to the Stadium Settings tab, let's take a look at how Assets works
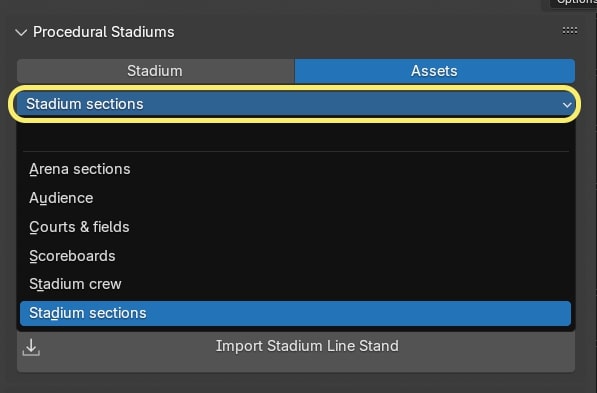
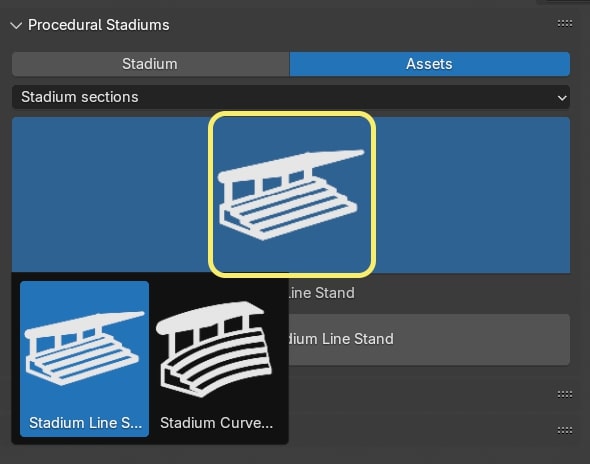
When you enter the Assets section you can see a drop-down menu containing the types of assets available, click on the one you want and a thumbnail menu will be displayed in which you can choose the asset you want from that category.
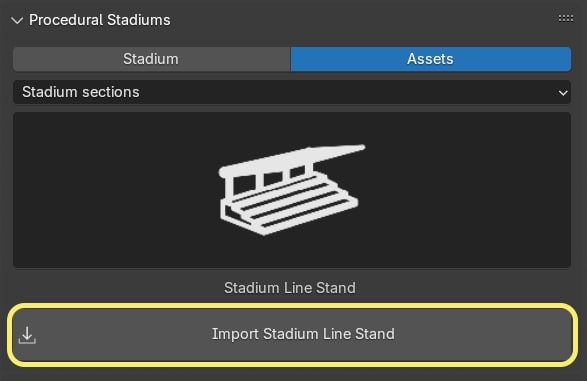
As with the stadiums, click the Import button to load the asset into your project.
Some of these assets are procedural, such as the stadium sections or scoreboards, but others are simply assets that you can use in your scene, such as the crowd or the stadium crew.
For the procedural ones you can use the Stadium Settings tab to modify their parameters, while when importing the others you will simply see a new collection hidden in the Outliner to use their models in your scene.
Later we will see how to add these crowds to your stadium.
In the Stadium Settings tab you can modify the parameters of the stadiums and procedural assets. You will also be able to save presets of your customized stadiums.
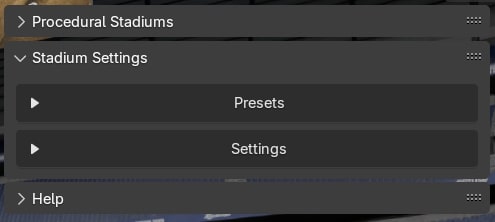
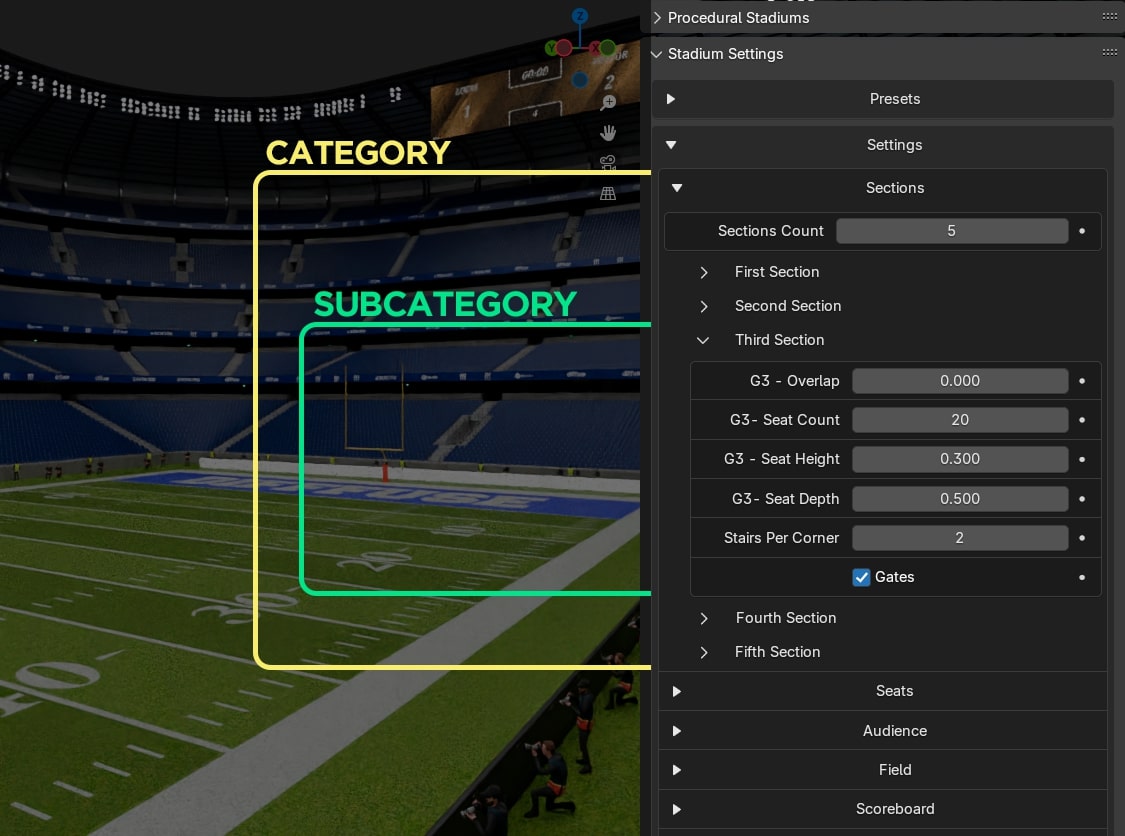
In the Settings tab the parameters are separated into categories and subcategories for better usability.
To add audiences to your stadium expand the Audience category and check the Enable Audience checkbox. At first you will not see any changes, as we have to assign a collection containing the models that will be instantiated in each seat.
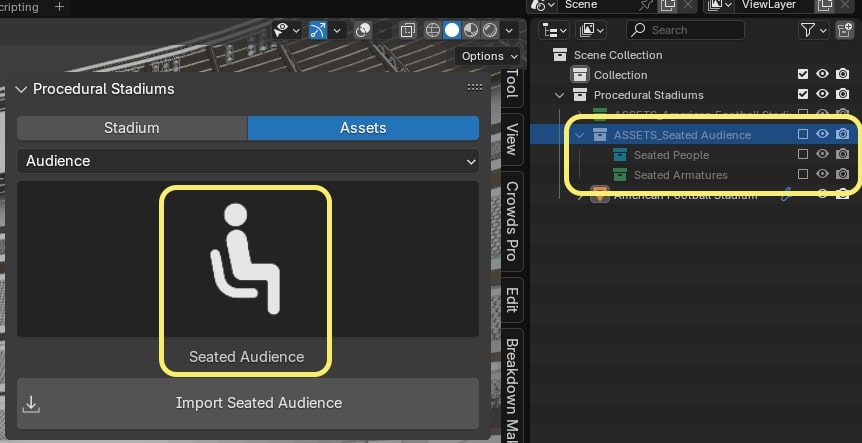
In this case I have previously imported the collection of Seated Audience models from the Assets tab as explained above.
The Audience collections contain two sub-collections, one containing the armors and the other the models, select this last one.
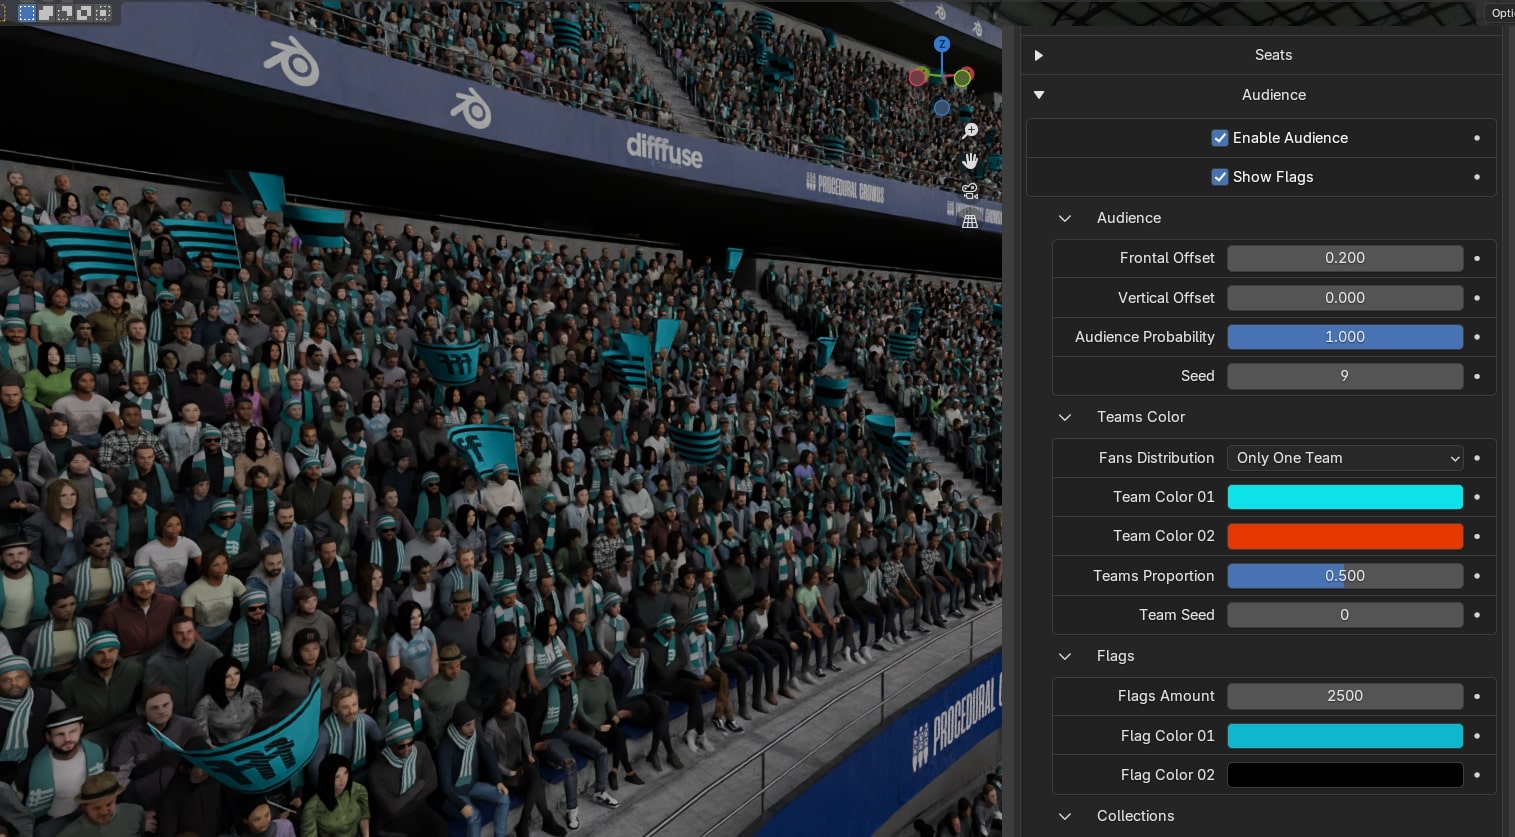
You can set the number of people, the color of the models' accessories or display flags, among other settings.
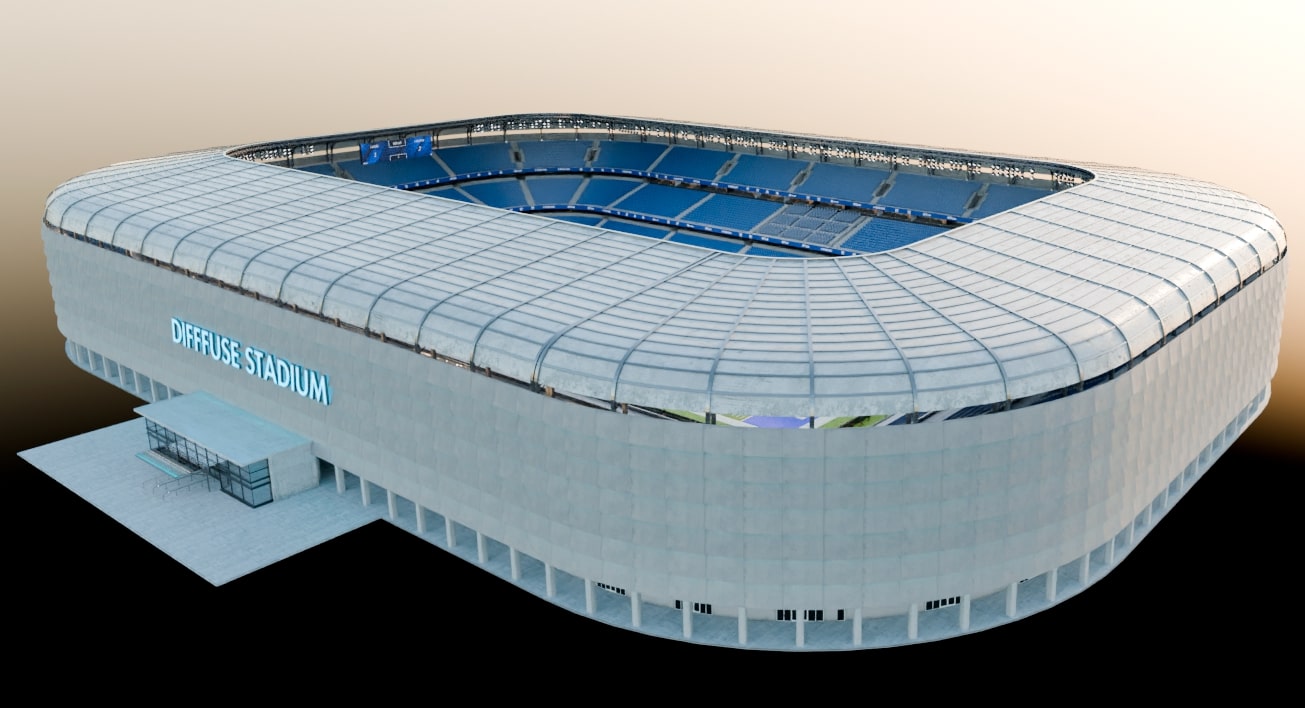
In the case of stadiums several exterior designs are included, depending on the type you choose you can modify some parameters, including the name of the stadium and the typography of the text.
The arenas do not include exteriors, as they are closed spaces.
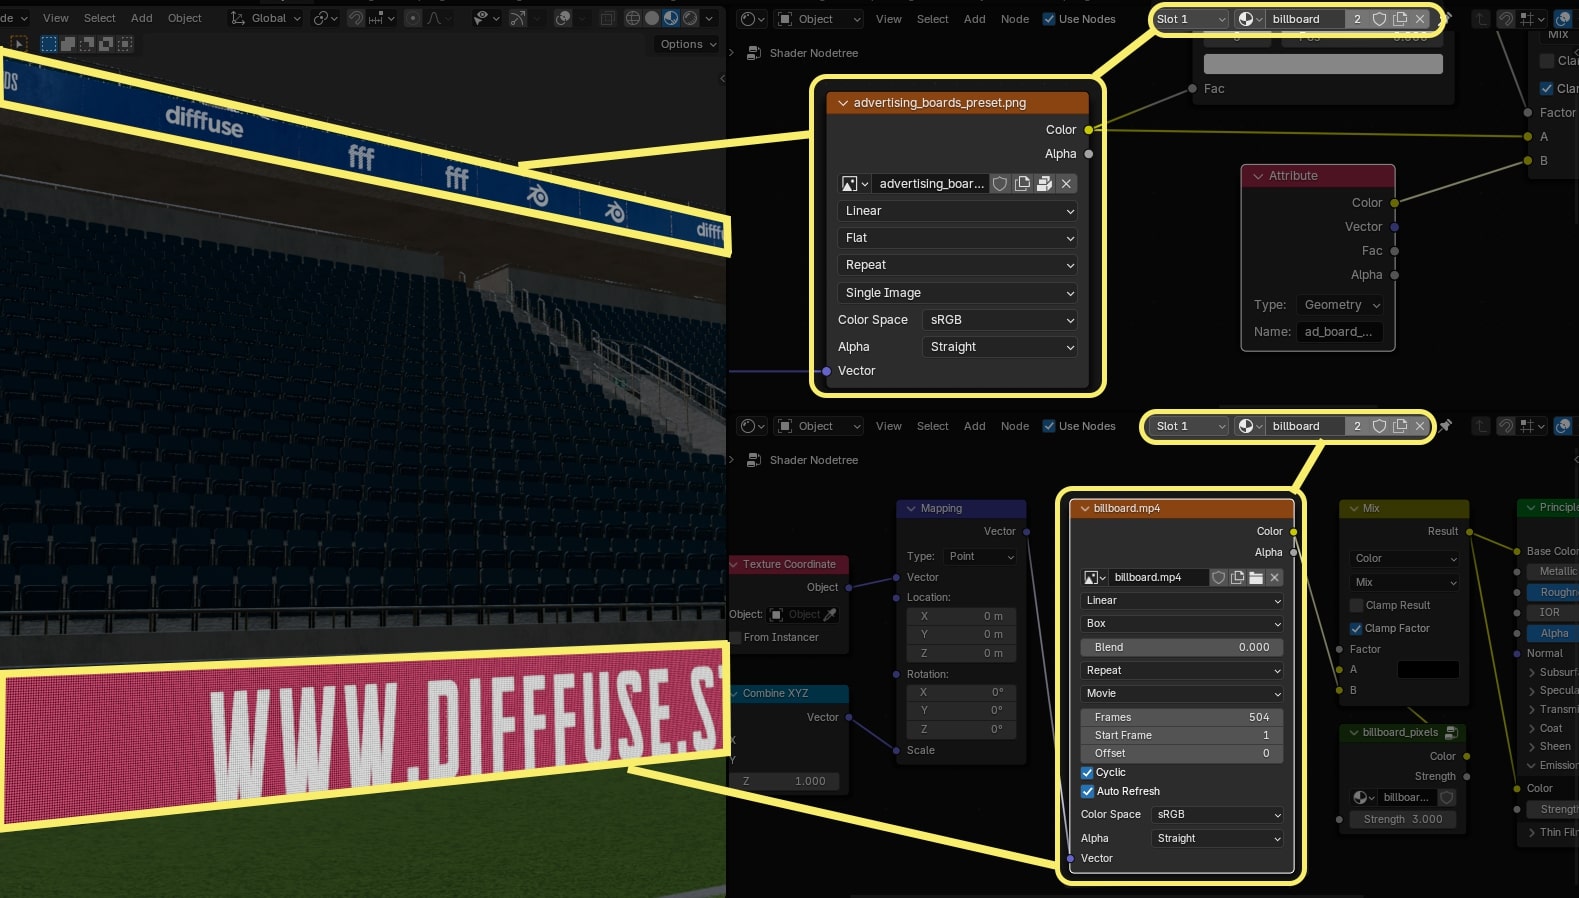
You may need to replace some textures of elements like flags or ads., if so, you will have to do it manually.
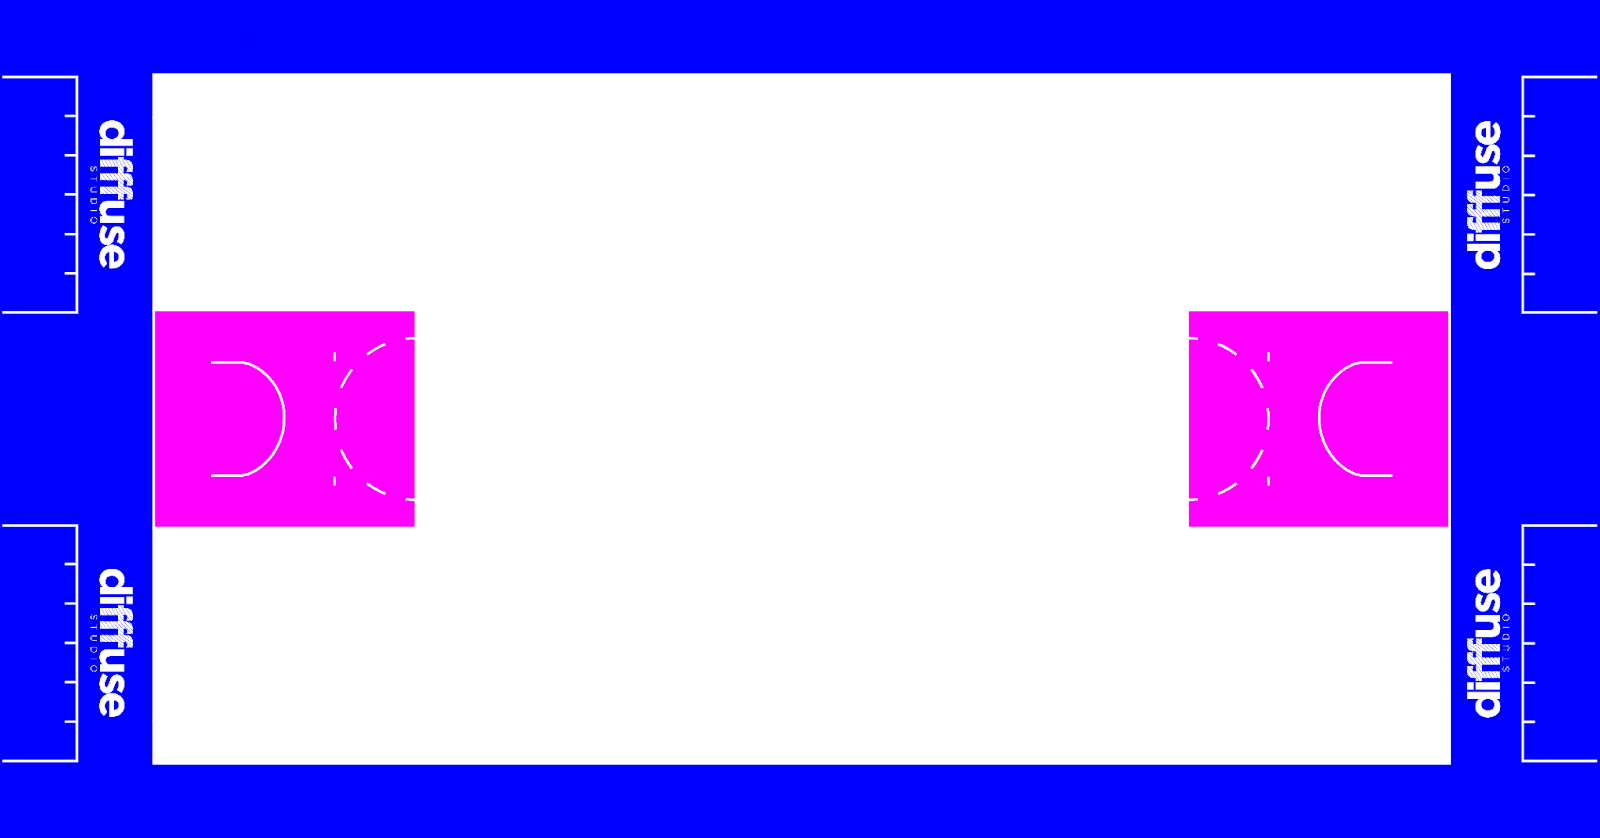
Here you can see the measurements of each texture and some considerations when replacing them.
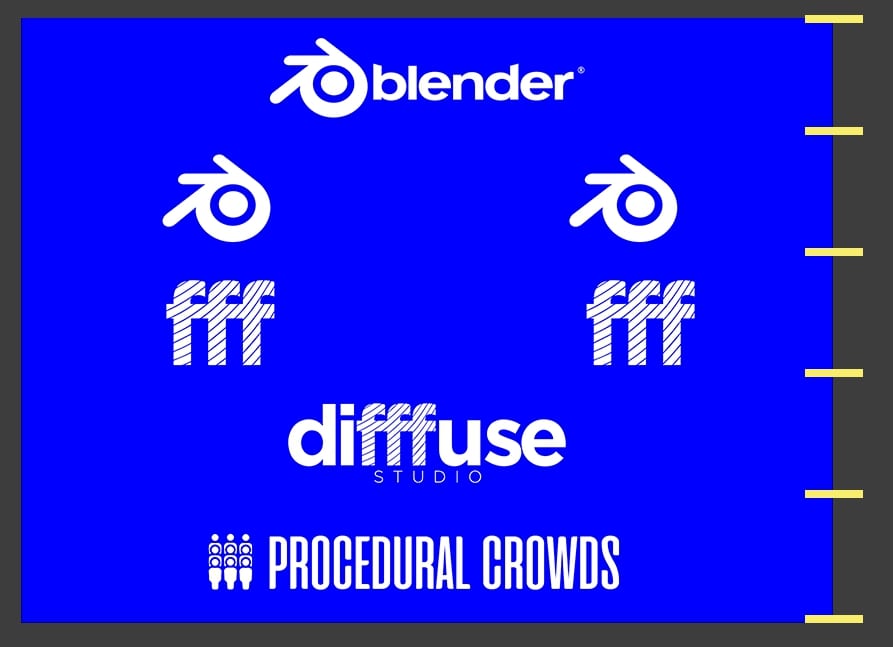
You can see that there are 4 designs placed vertically, one of these designs will be randomly displayed on each flag.

Please respect the same background color so that the procedural color change works correctly.
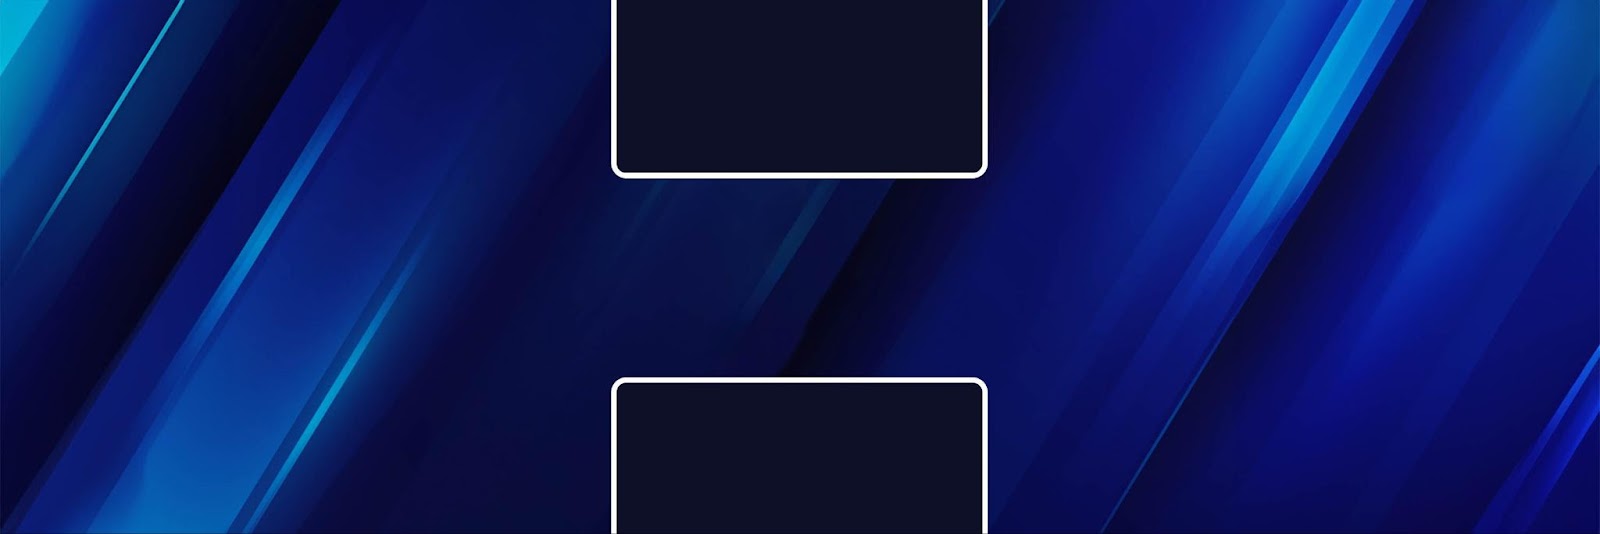
You can place 5 different ads, distribute them evenly vertically and they will appear randomly.
If you want to place less than 5 different ads simply duplicate some of them until you fill the 5 rows.
You can add a video with more or less resolution depending on your needs, but respect the aspect ratio so that there are no deformations.

We recommend respecting the spaces in the boxes so that the text fits correctly, although you can modify the design as you wish.
In this case it may be best to unpack the project image (or download it here) and modify the DIFFFUSE text respecting the background and text color.
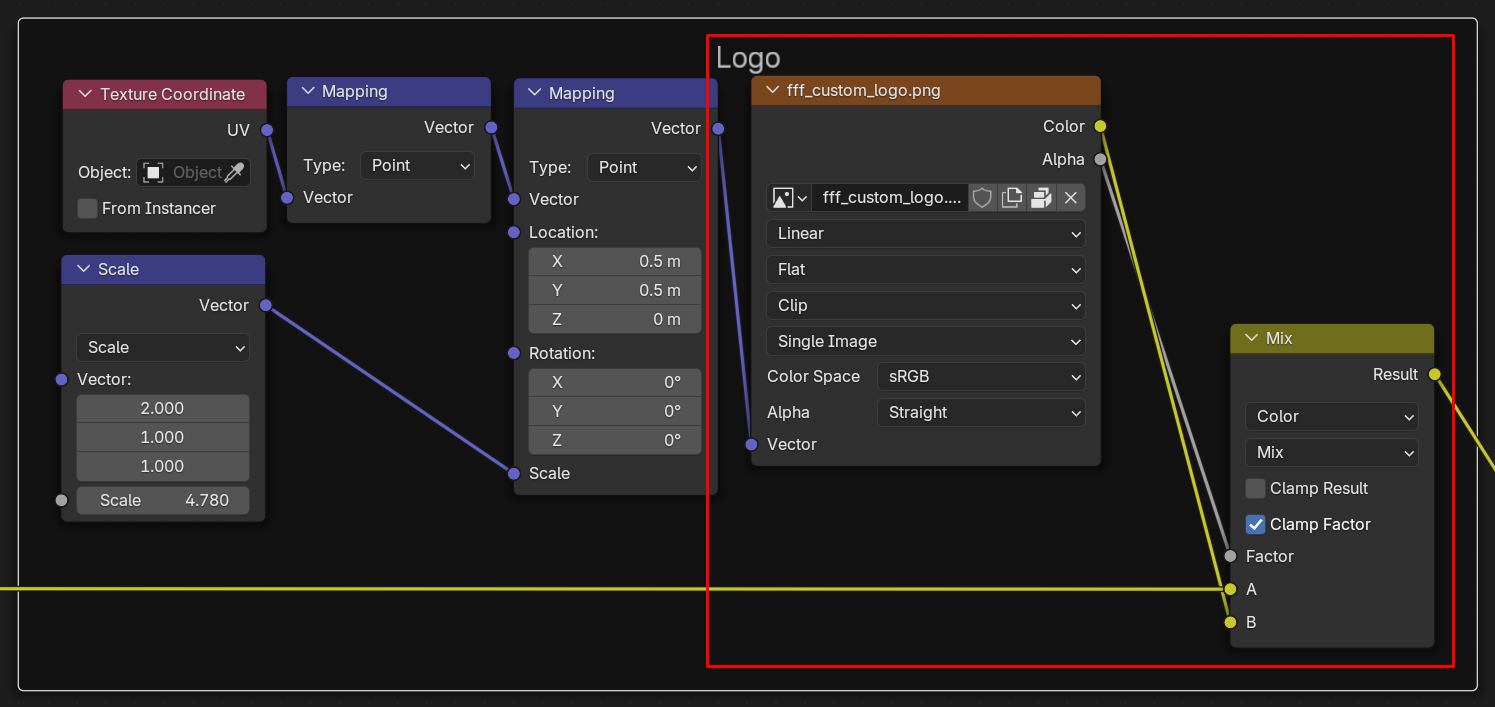
You can also remove or modify the central emblem.
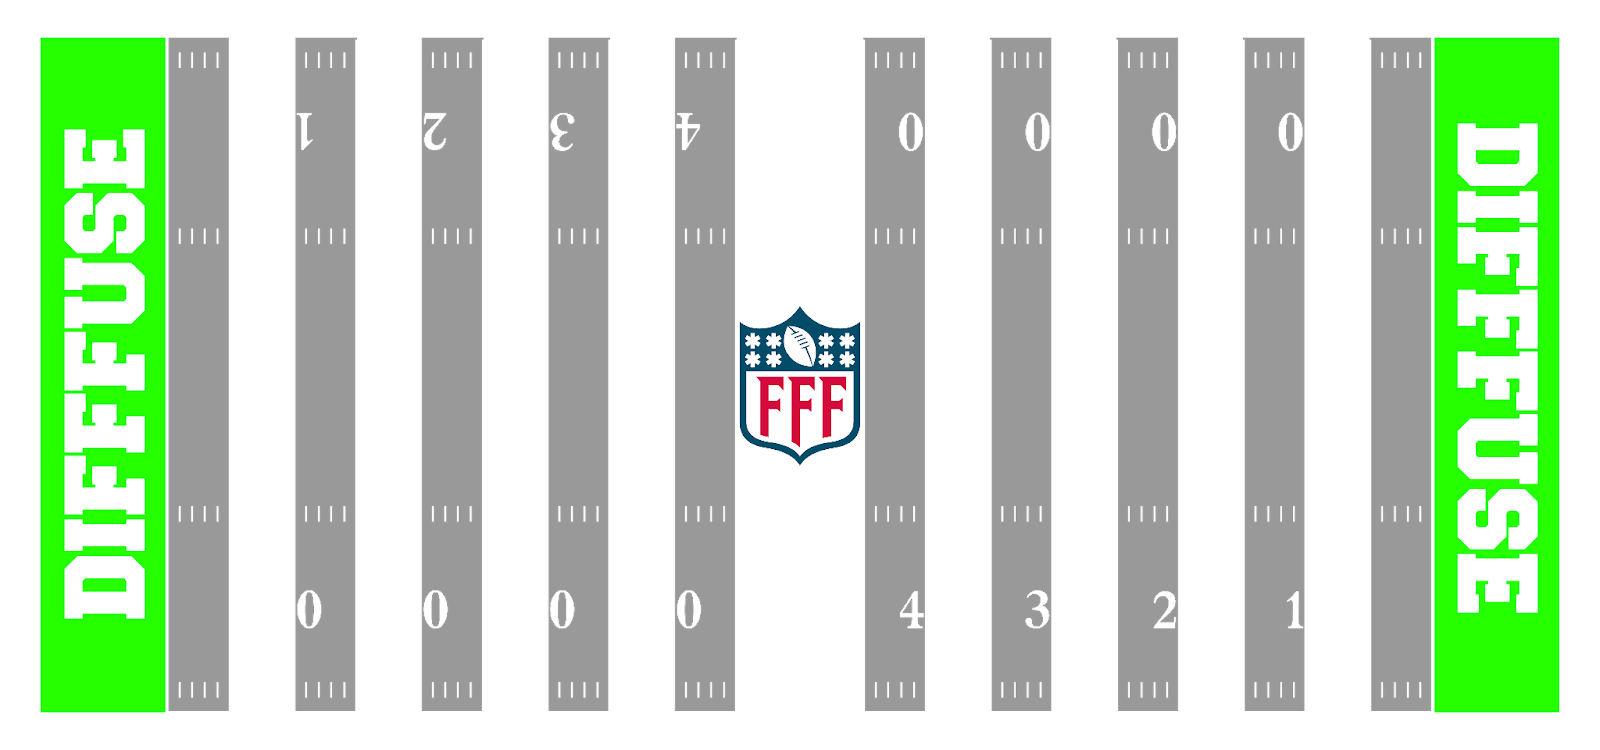
In the same way as in the previous case, it is best to modify this image respecting the colors.
In this case the shield is separate and can be removed or modified by hiding the Mix node or replacing the texture in the same material.
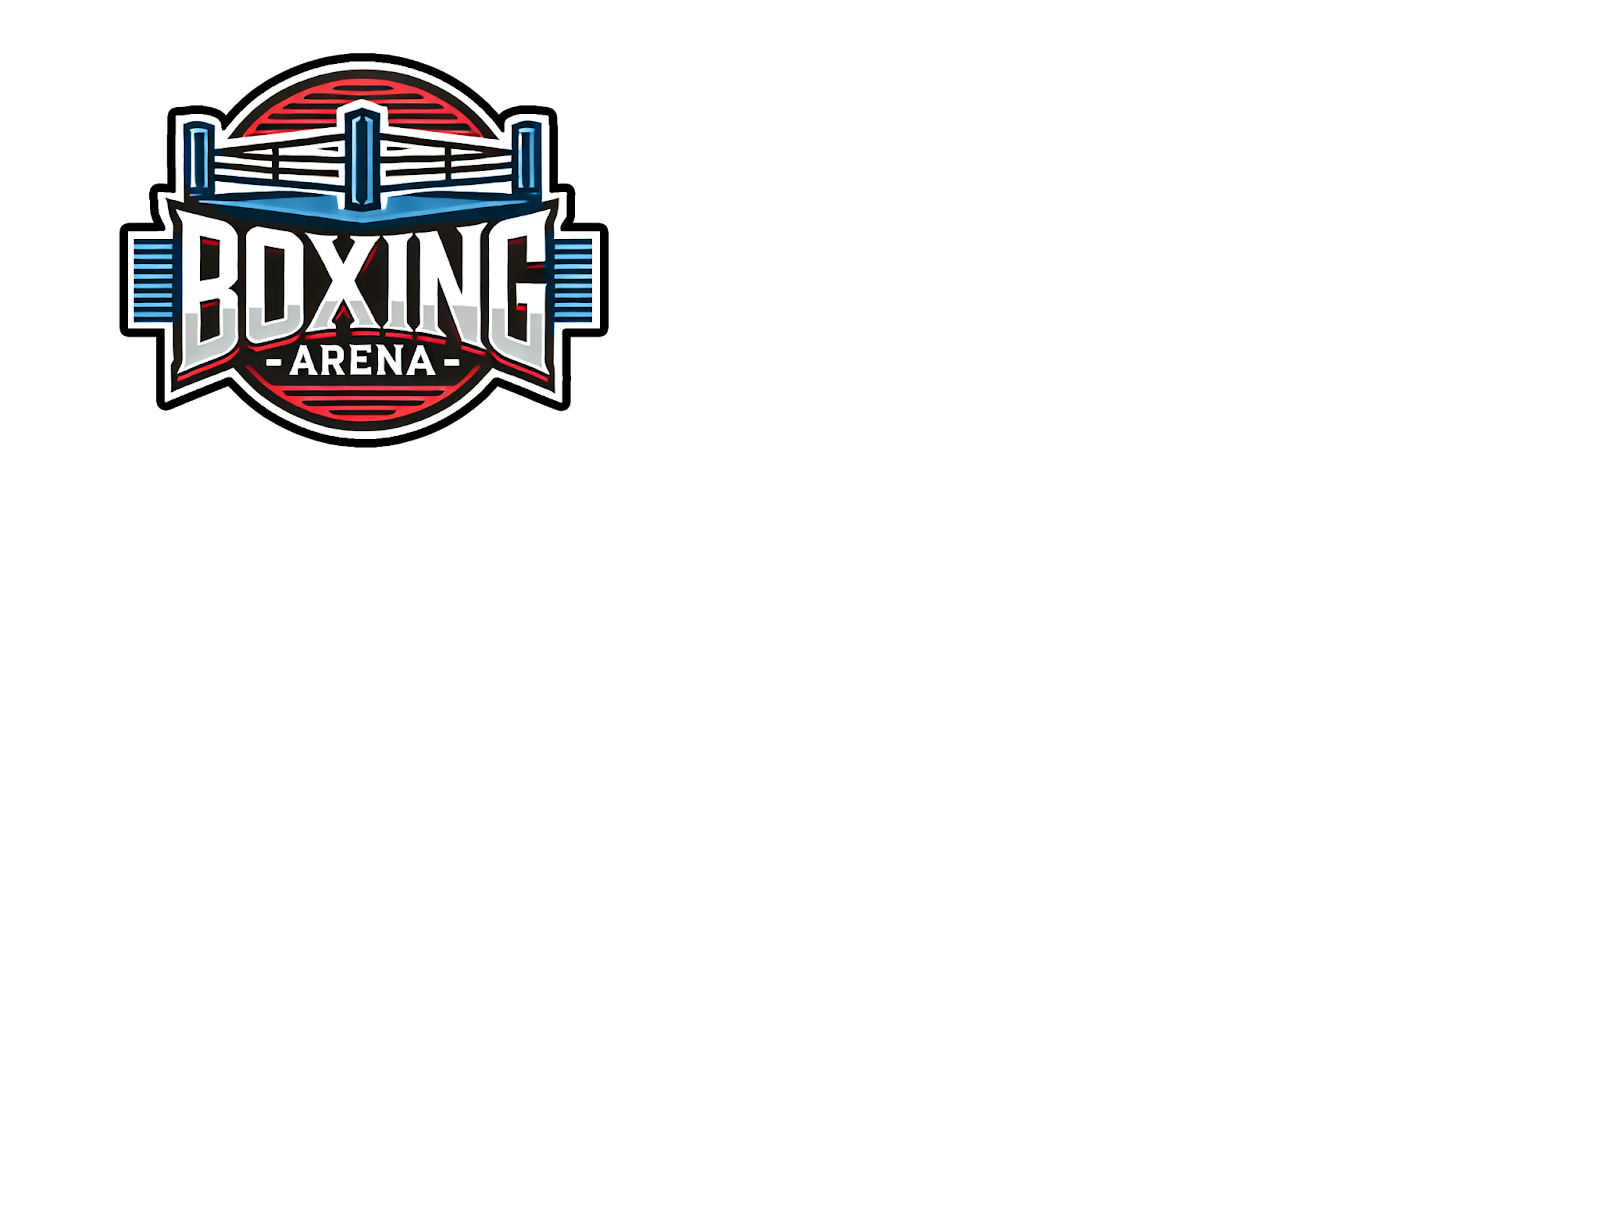
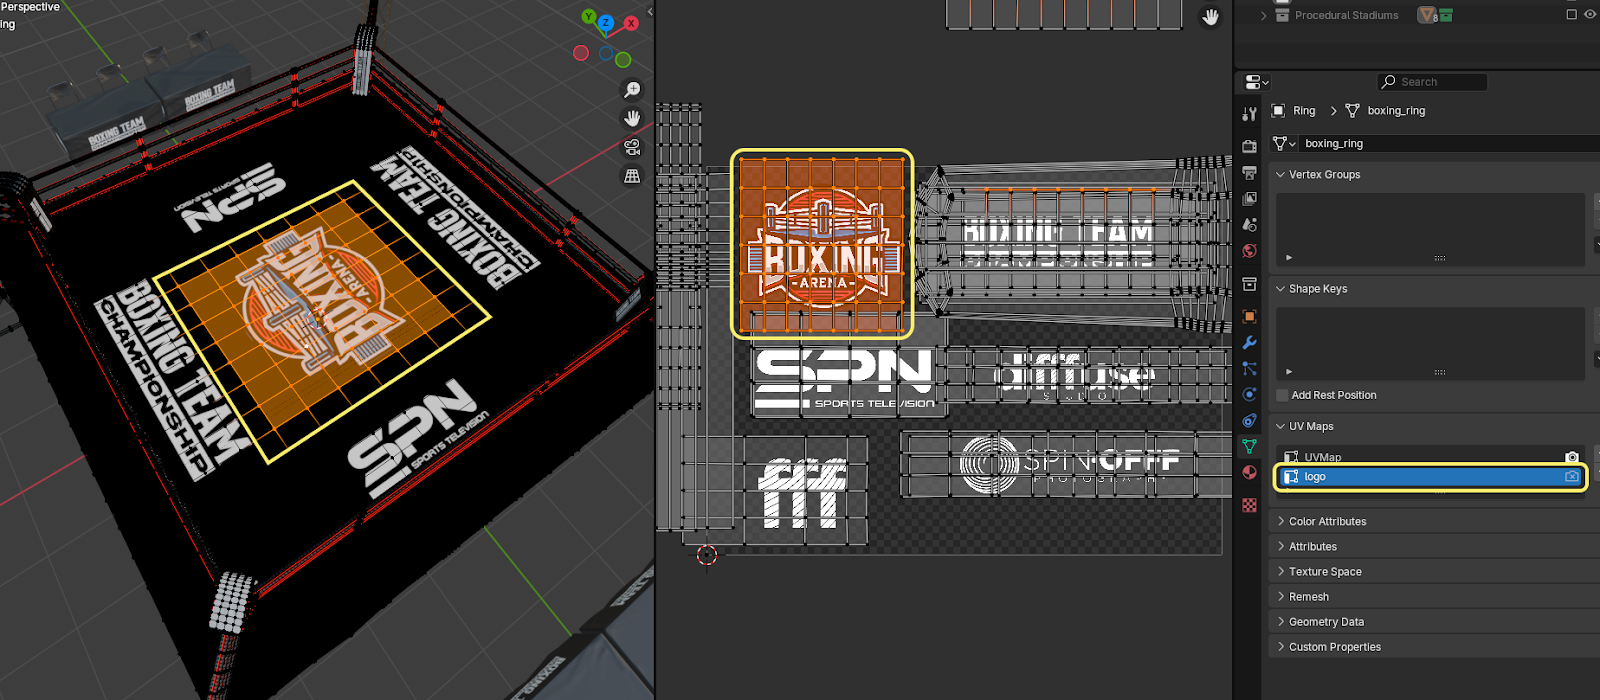
This case is a bit more complicated, you will have to replace the indicated texture and, if the logos are not positioned correctly, modify the UV "logo" of the original asset of the ring as you can see in the image below.
Once you're done customizing your stadium, you can save it for future use using this button

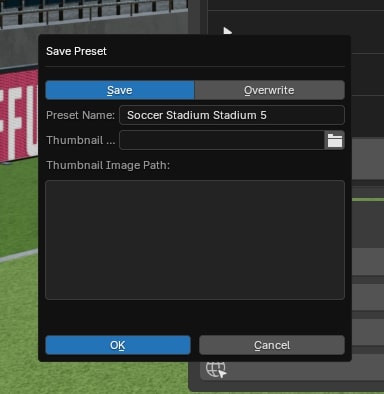
When you press it you will see this menu, you can save new presets or overwrite presets you have previously saved.
Give your preset a name and an image and press OK to save it.
If you use the overwrite option, the preset that is currently selected in the assets tab will be overwritten.
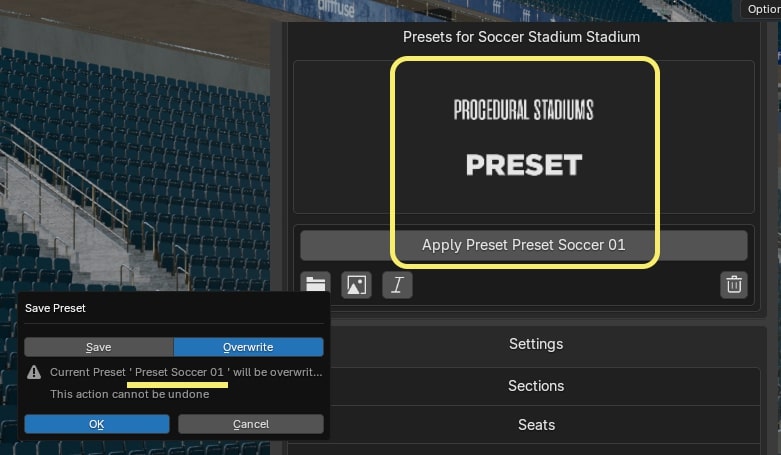
In the Presets tab, you can apply the saved presets for the selected stadium (remember to choose the preset that matches your stadium).
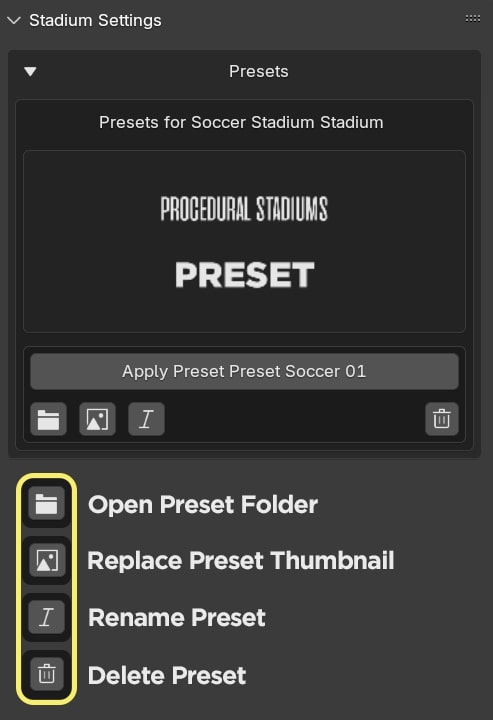
In addition to that, you can also access the Presets folder, change the thumbnail, rename, or delete your presets using the buttons in this tab.
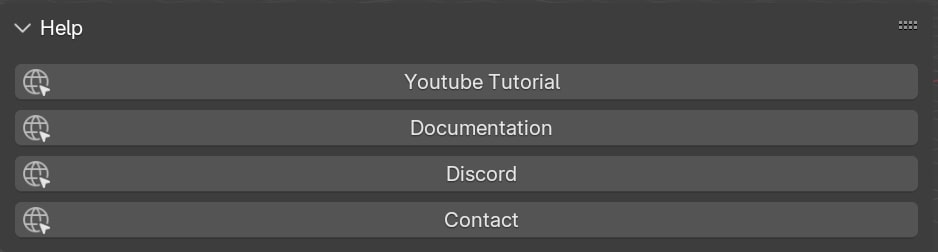
In this tab, you will find links to the documentation, the tutorial on the add-on, our Discord channel, and our BlenderMarket page.